
When out and about on backroads around Las Vegas, gates of various sorts often are encountered. Most of these gates are related to grazing, and the rule is: if the gate is open when you arrive, leave it open; if the gate is closed when you arrive, open the gate, drive through, and immediately close it behind you. Ranchers use gates to manage cattle grazing, so don't change the gate because it probably is the way the rancher wants it.
Operating most gates is obvious, but opening, and especially closing wire-fence gates can be confusing and hard to do properly without getting hurt. Presented here are photos and instructions for opening and closing wire-fence gates.
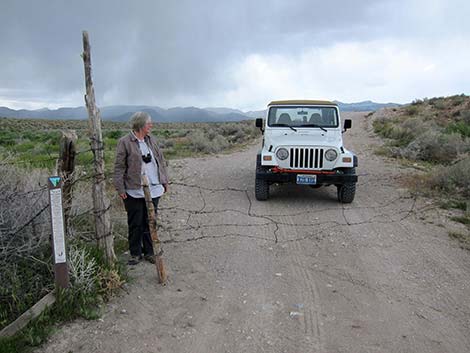 view: outside gate |
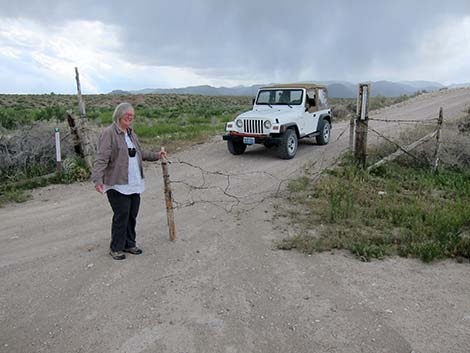
When arriving at a wire-fence gate, one end of the gate wires usually is permanently attached to a fence post (right end; not shown in this photo). The other end of the wires is attached at a short, movable post called the Gate Post. |
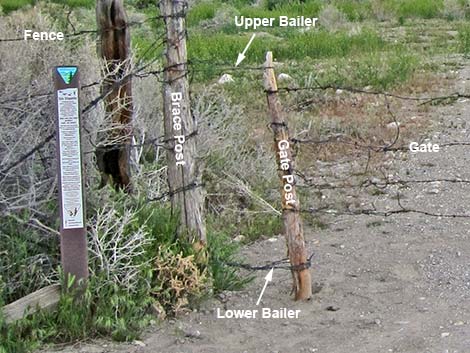 view: outside gate |
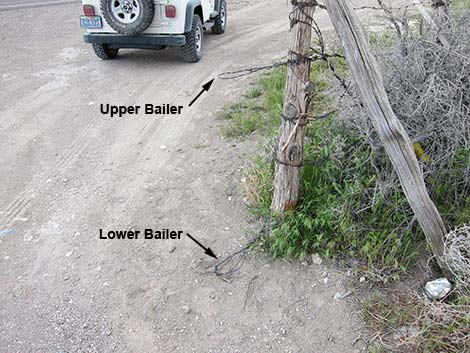
At the opening end of the gate, the gate wires are permanently attached to a Gate Post. In turn, the Gate Post is attached to a Brace Post by two movable Bailers (usually loops of wire, occasionally rope). The Brace Post is permanently part of the fence and does not move. |
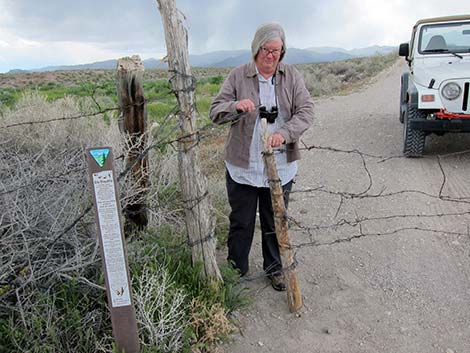 view: outside gate |
To open the gate, grasp the Gate Post and push it towards the Brace Post. Notice that the Upper Bailer becomes loose and can be lifted up and off the Gate Post. |
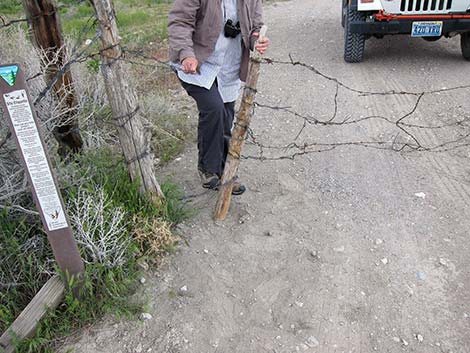 view: outside gate`` |
Releasing tension on the Gate Post, the Lower Bailer becomes loose, and the Gate Post can be lifted out of the Lower Bailer. |
 view: outside gate |
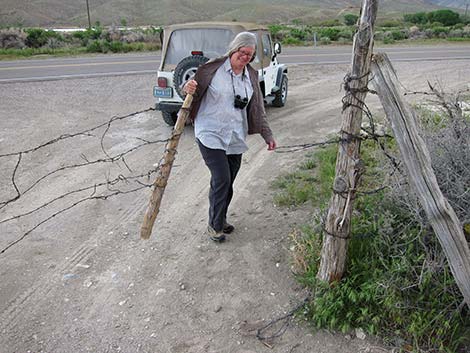
With the movable end of the gate free, drag it to the side of the road. It is best to maintain tension on the gate as you swing it around to prevent tangling the gate wires. Also, don't just drop the gate and drive over it -- it could catch on the under-carriage of your vehicle and tear parts off. |
 view: inside gate |
When the gate is open, it is easy to see that the bailers are loops of wire permanently attached to the Brace Post. |
 view: inside gate |
After driving through the gate, drag the gate back into place. |
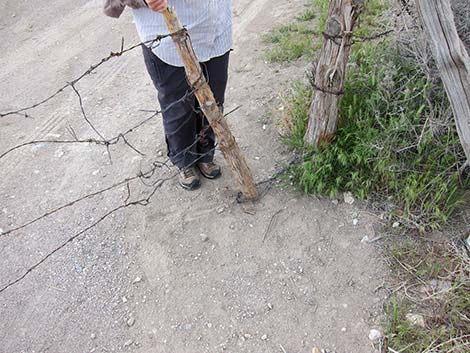 |
When closing the gate, the trick is to set the Gate Post firmly into the Lower Bailer first. Hold the Gate Post at an angle so the base of the Gate Post extends as far as possible towards the Brace Post. |
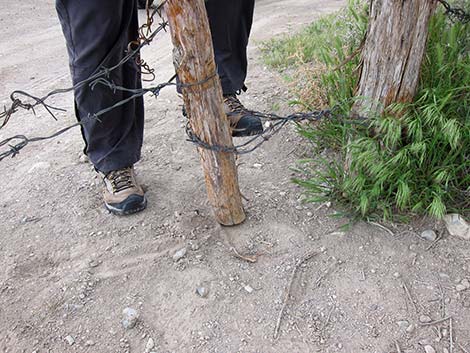 view: inside gate |
With your foot, lift the Lower Bailer as high as possible while pressing the top of the Gate Post towards the Brace Post. This usually puts considerable tension on the Lower Bailer. |
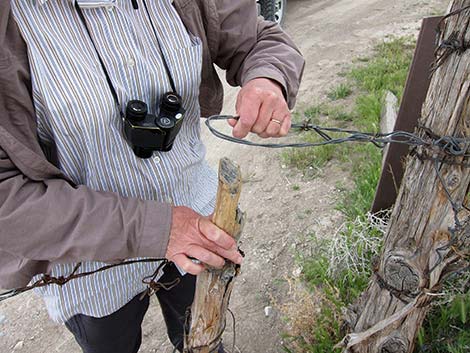 view: inside gate |
While leveraging the Gate Post against the Lower Bailer, firmly press the top of the Gate Post towards the Brace Post and drop the Upper Bailer down over the top of the Gate Post. Be careful at this point, because it is easy to catch the web of skin between the thumb and forefinger under the bailer -- and that hurts a lot! |
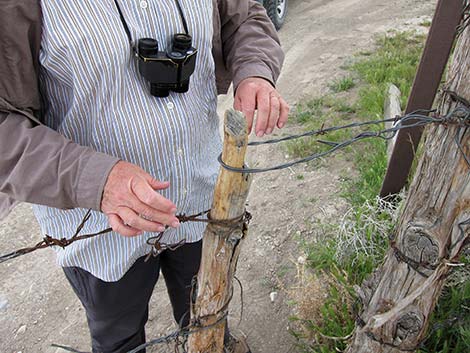 view: inside gate |
With the Upper Bailer in place, double-check that the Lower Bailer still is in the proper position to ensure that the gate is securely closed. |
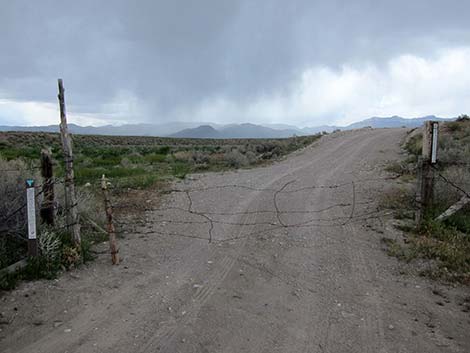 view: outside gate |
After driving through and closing the barber-wire gate, cows will be locked on the proper side, ensuring harmony between ranchers and recreational users of public lands. |
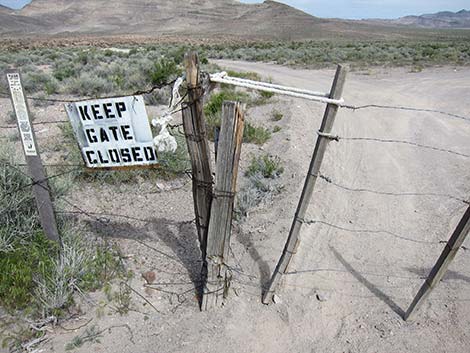 The upper bailer on this wire-fence gate is a rope |
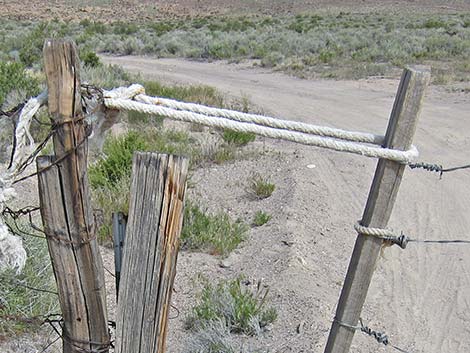 Details of rope upper bailer |
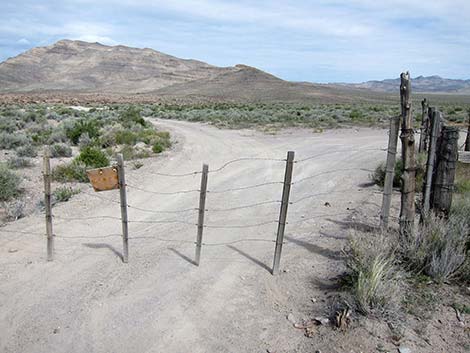 Some wire gates are supported by wooden stays |
 more to come ... |
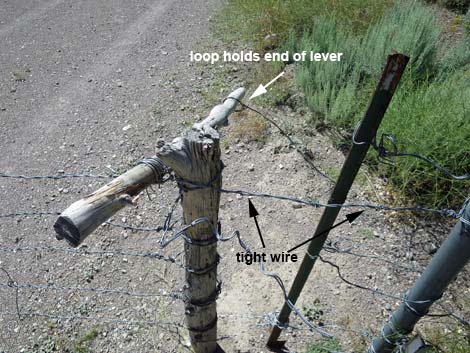 A different kind of Upper Bailer |
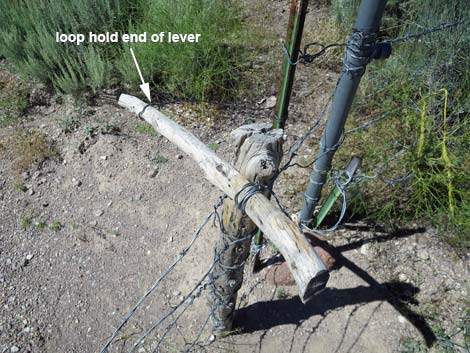 A different kind of Upper Bailer |
Happy hiking! All distances, elevations, and other facts are approximate.
![]() ; Last updated 240323
; Last updated 240323
| Hiking Around Las Vegas | Glossary | Copyright, Conditions, Disclaimer | Home |