Rock Art Around Las Vegas
Rock art is a precious resource. Please help protect and preserve these sites.
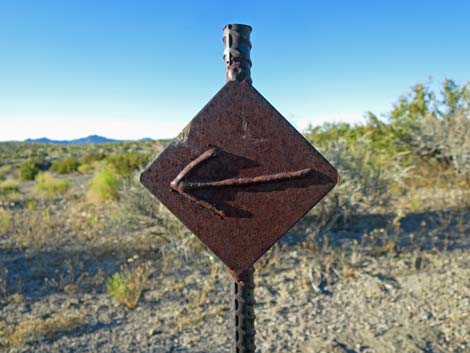
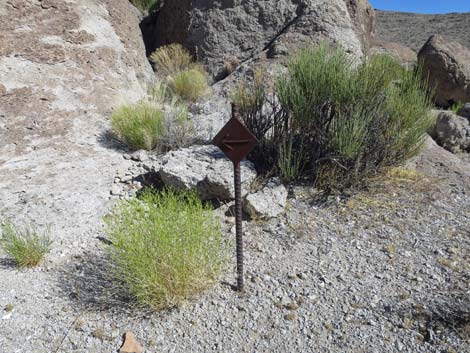
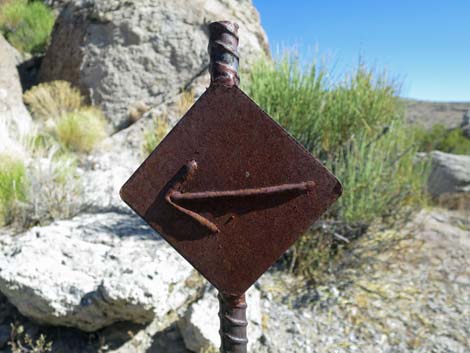
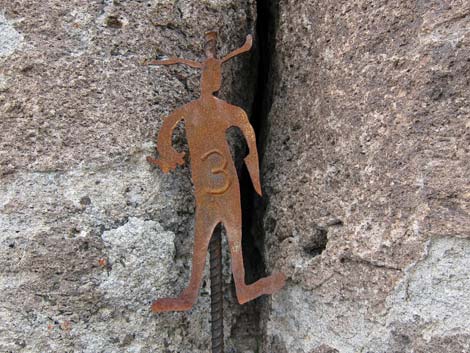 Marker style used in this area |
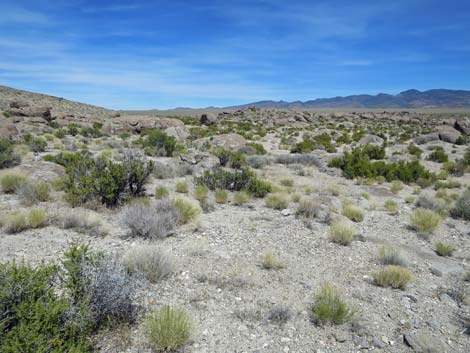
Overview The Crystal Wash Main Archeological Site (or "Rock Story" site) is an area of desert-varnished, volcanic boulders along a sandy wash and on a gently sloping hillside above the wash. Above the wash, ancient people stayed in the area for long periods of time, probably living here during winters. While here, they flaked stones, built fires, broke ceramic vessels, and etched the rocks with representational (e.g., bighorn sheep and human figures) and abstract images. Back in their time, Crystal Creek probably flowed past the village. The BLM and Lincoln County opened this area to the public, and Lincoln County printed a brochure with information about the site (including GPS coordinates) as part of their Get Primitive tourism campaign. Download the 57-page brochure from Lincoln County or snatch a copy of the entire guide or just the 3 pages about Crystal Wash Main. Link to Wide Area Map or Site Map. |
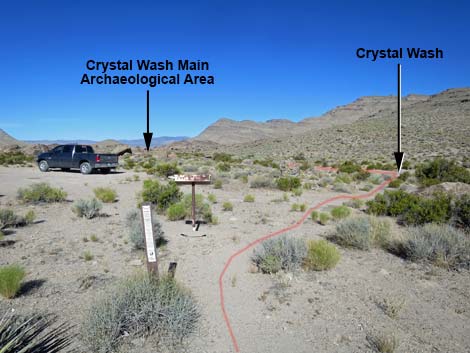
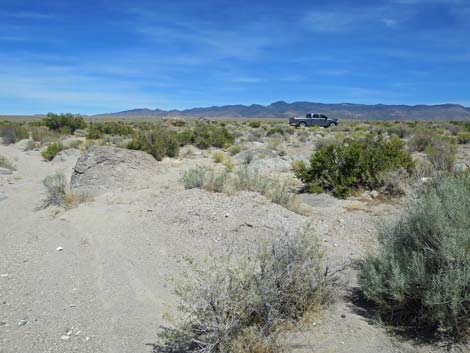
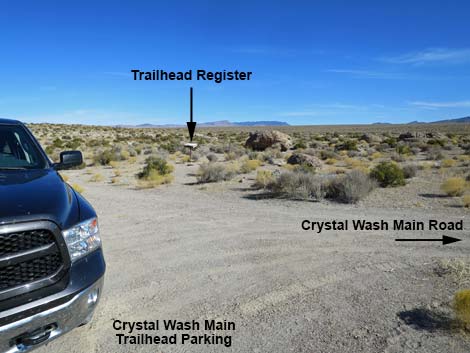 Crystal Wash Main trailhead parking (view NW) |
The route description presented here is tied to the Lincoln County brochure and the 10 numbered sites along the route, plus one unnumbered site that is passed along the way. Location Crystal Wash Main rock art site is located in Lincoln County about 110 miles north of Las Vegas on Highway 93. From town, drive north on Interstate 15 to US Highway 93. Exit onto Highway 93 and drive north past Alamo and Ash Springs to the intersection of Highway 93 and Highway 318. Continue on Highway 93 for 4.1 miles to a large dirt parking area on the left (north) side of the road with a white trash can. |
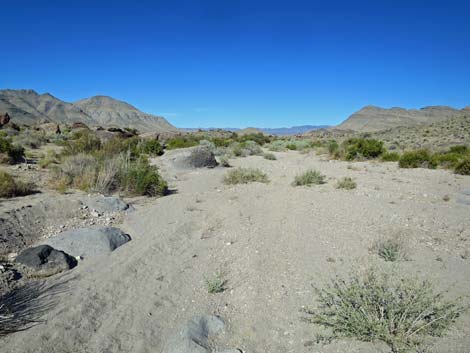
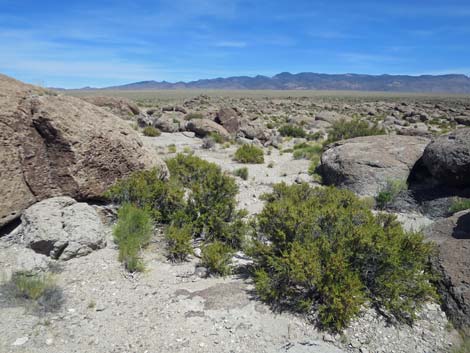
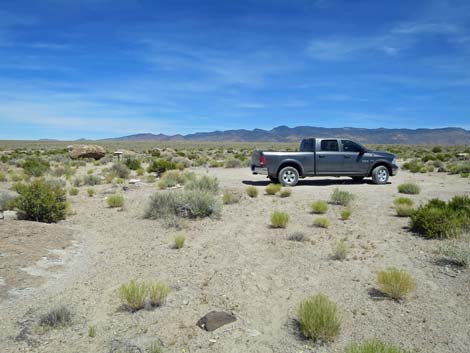
 Crystal Wash near the trailhead parking area (view SW) |
From the dirt parking area, Crystal Wash Main Road heads north, crosses a cattle guard, bends slight left, and then proceed 100 yards to a T-intersection. Visitors can turn right to Crystal Wash Main petroglyph site or stay straight to the old Shepherd Camp. Hours The area is always open, but it probably should be considered day-use only. There are no established camping areas, but campers can stay at the trailhead or at the end of Shepherd Camp Road. Fees None. |
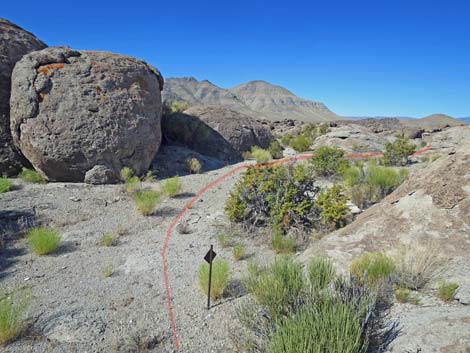
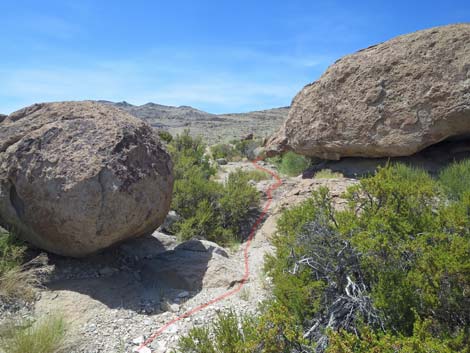
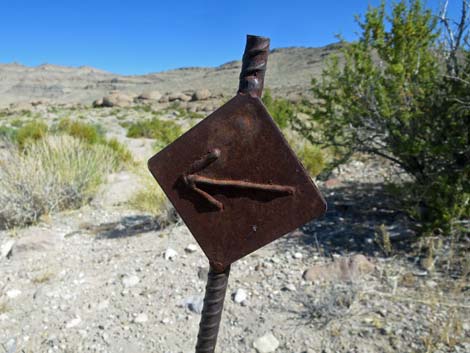 Directional arrows mark parts of the route |
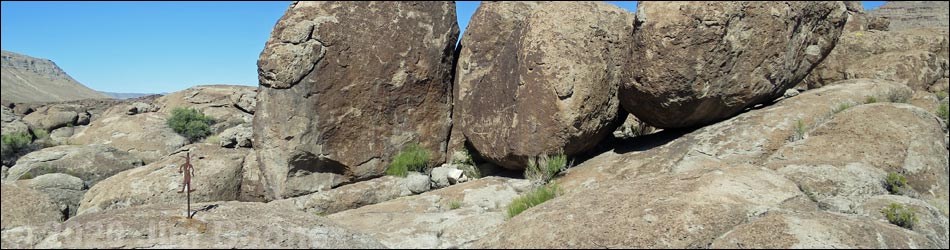
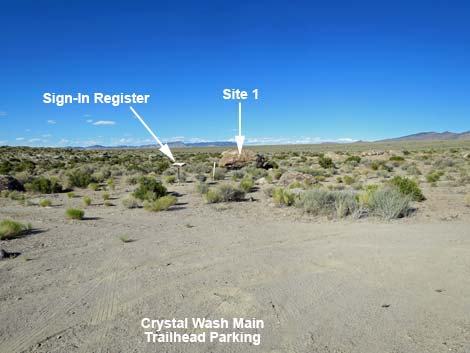
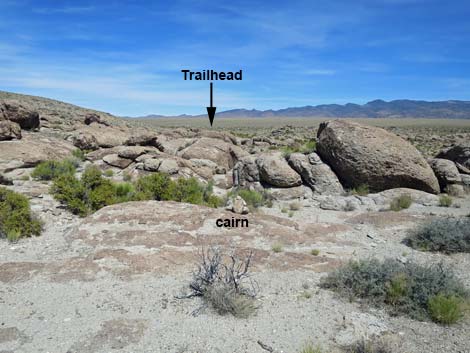
The Hike From the trailhead parking area (Table 1, Waypoint 10), the route (no established trail) runs northeast about 30 feet to the sign-in register (Wpt. 11), then another 30 feet to Site 1, the boulder behind Marker #1 (Wpt. 12; note that the actual marker has been stolen and only the rebar post remains). From there, the route turns back and heads over to the wash and follows it downstream for about 0.27 miles to a large Half Boulder in the center of the wash (Wpt. 13). Surprisingly, this well-marked boulder (Site 1a) does not have a marker, and therefore hints at the riches to be found off the beaten path. From Half Boulder, the route turns south to run around the east side of a boulder field, passing Site 2 (Wpt. 14) and Site 3 (Wpt.15). Winding around the boulder pile at Site 3, the route heads west towards tall, upright boulders on the skyline across the wash and up on a low hill. The boulders are Site 4 (Wpt. 16) and make for a good landmark. Immediately to the east of the Site 04 boulders, Site 5 (Wpt. 17) is an unusual site where petroglyphs are on the flattish bedrock. |
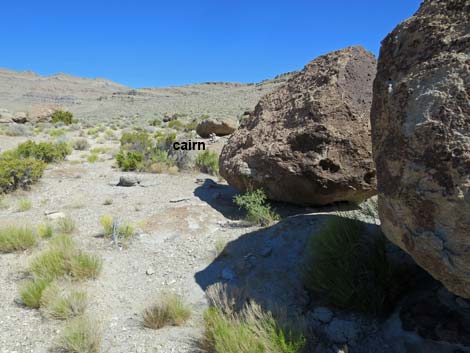
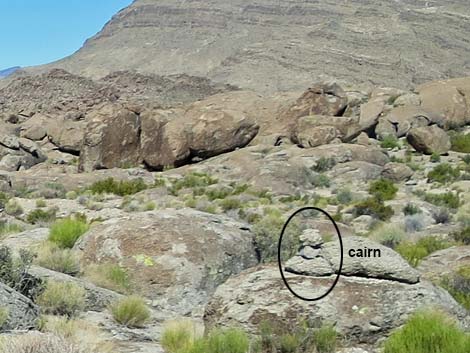 Cairns (stacked stones) mark the way though the boulders |
Doubling back from Site 5 and continuing northwest past Site 4, the route runs along a wall of cliffs to Site 6 (Wpt. 18), then cross the open area heading north towards the village area. The route passes a shady rock shelter at Site 7 (Wpt. 19), clearly a habitation site with petroglyphs and pictographs, and arrives at Site 8 (Wpt. 20), a remarkable panel high on the wall with several humanoid figures. Continuing west to circle around to the back side of the humanoid panel (Site 8), the route passes another nice panel (Site 9; Wpt. 21) and then another shelter site (Site 10; Wpt. 22) a bit farther around the corner. Cairns and signs help hikers find their way around the boulders; no climbing required. Site 10 is the last marked site. From there, the route runs down the gentle hillside (east, southeast) and back into Crystal Wash near Half Boulder (Wpt. 13), which was encountered on the way into the area. The route then runs back up the wash to the trailhead (Wpt. 10). |
 Trailhead parking (view NE towards Site 1) |
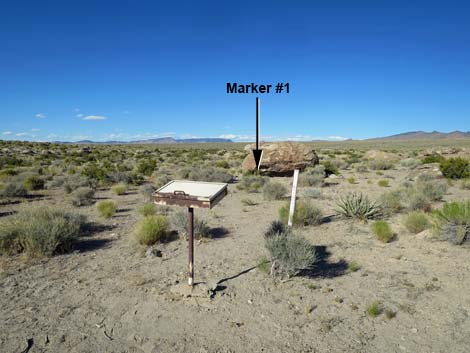 Sign-in register and Site 1 (view NE) |
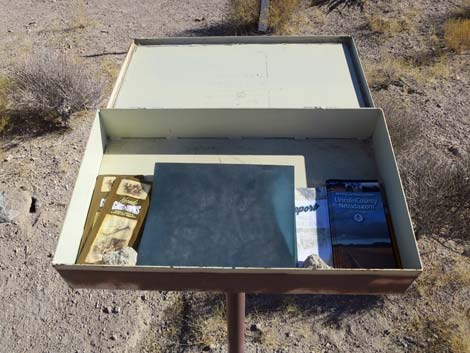 Contents of the register box: sign-in sheets, maps, brochures |
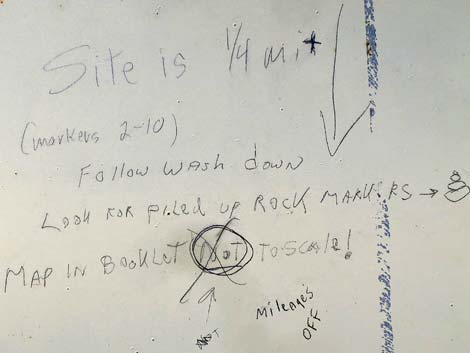 Notes written on inside cover of the register box |
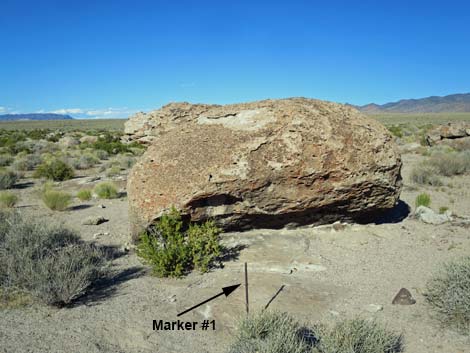 Approaching Site 1; route circles this boulder (view NE) |
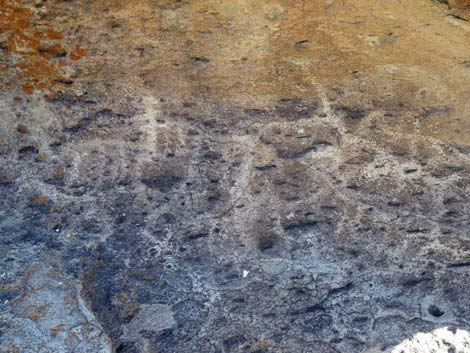 Site 1 petroglyphs on shady side of the boulder (view S) |
 From Site 1, route returns back towards trailhead (view SW) |
 Directional arrow: return towards trailhead (view SW) |
 The route bypasses the trailhead end enters Crystal Wash (view SW) |
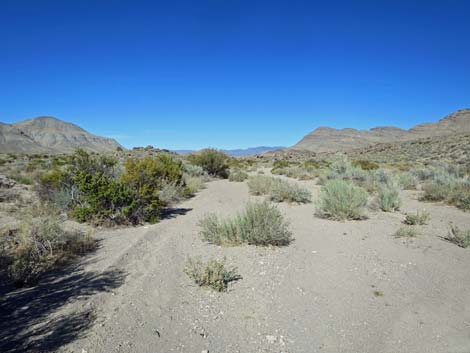
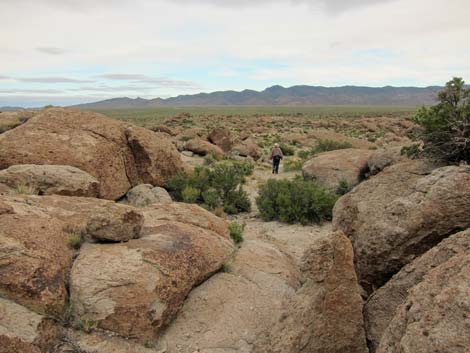
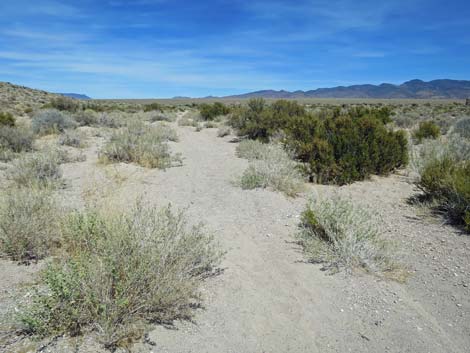
 The route runs down Crystal Wash (view SW) |
 |
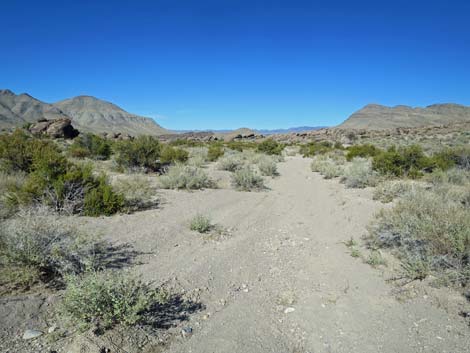 |
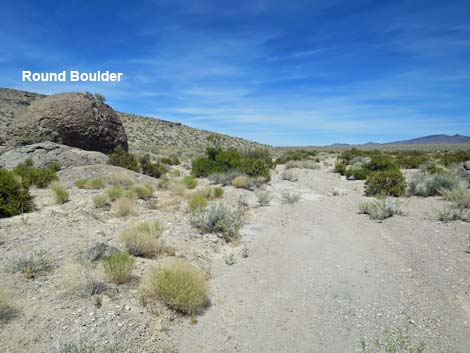
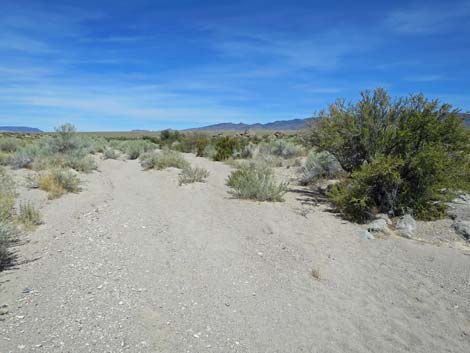
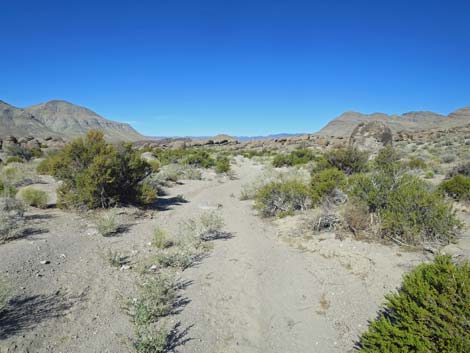 The route runs down Crystal Wash (view SW) |
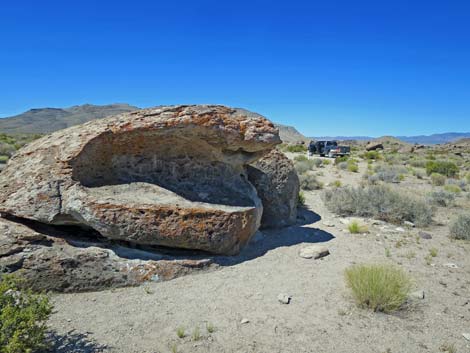
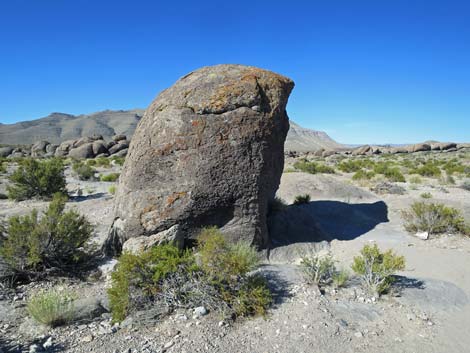
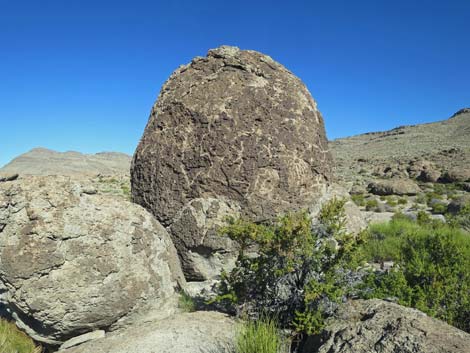
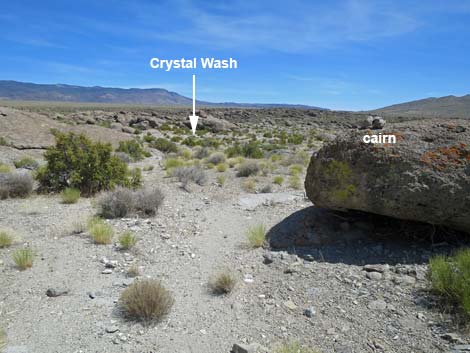
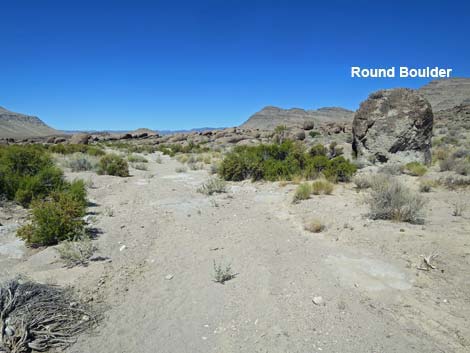 Landmark: first big, Round Boulder on north (right) side of wash |
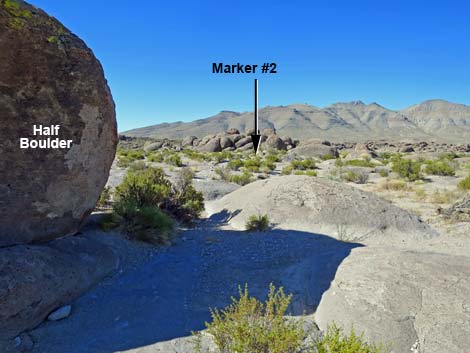
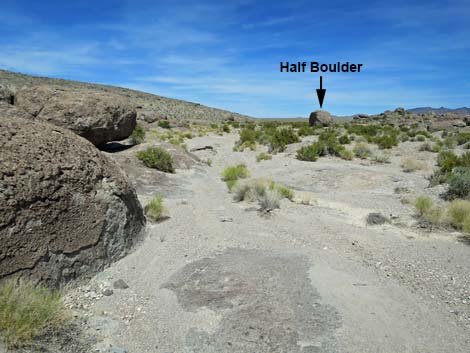
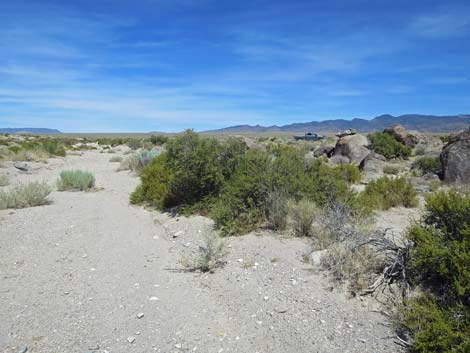
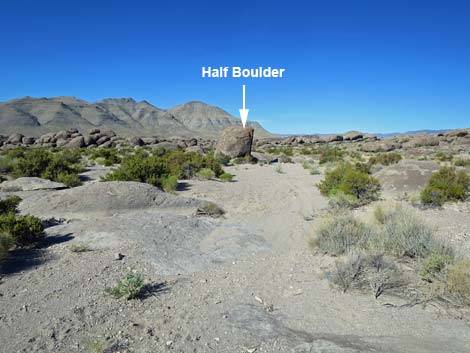 Landmark: Half Boulder in the wash (view SW) |
 Approaching Half Boulder (Site 1a; view SW) |
 Site 1a, north side of Half Boulder (view S) |
 Continuing past Half Boulder to Site 2 (view S) |
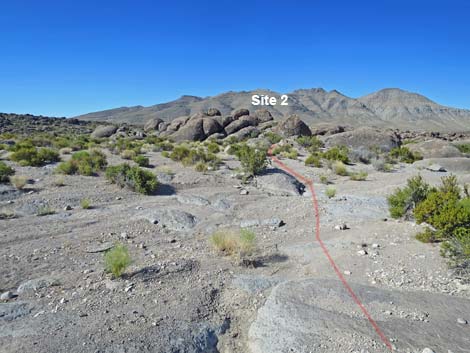 Crossing wash to Site 2 (view S) |
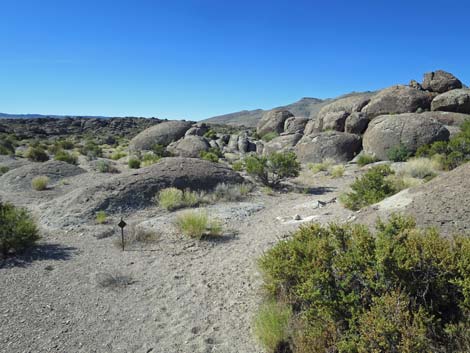
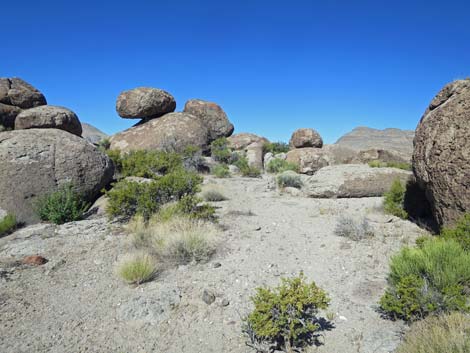
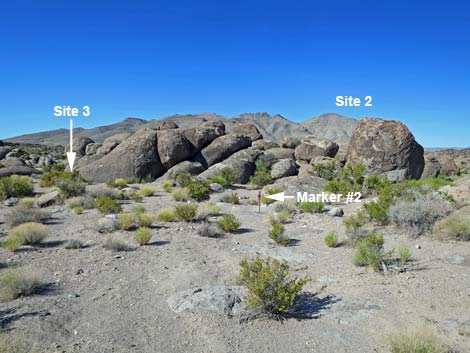 Approaching Site 2; note Site 3 around corner to the left (view S) |
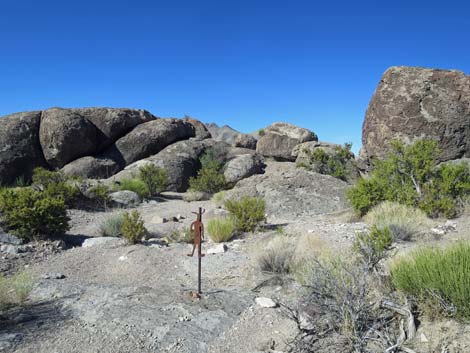 Arriving at Marker #2 (view S) |
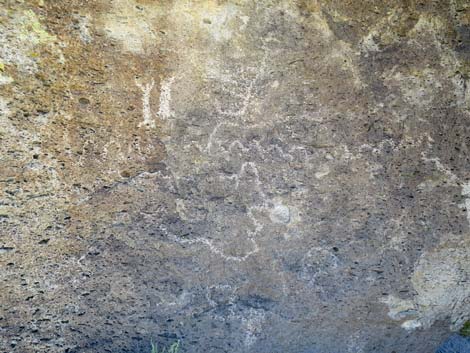
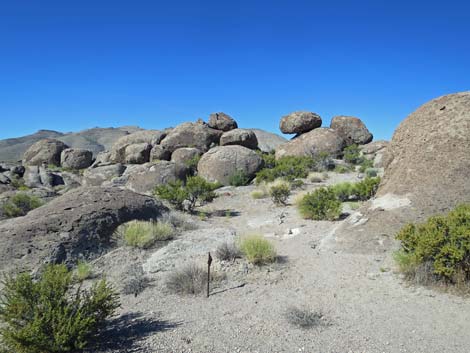
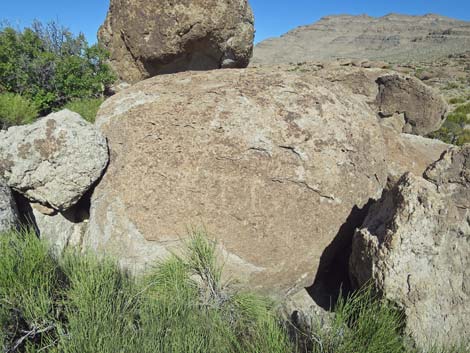
 One of the main boulders at Site 2 (view W) |
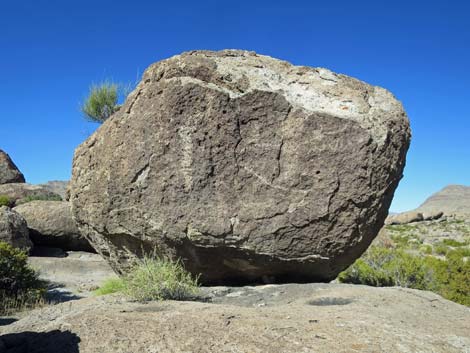 Another of the main boulders at Site 2 (view SW) |
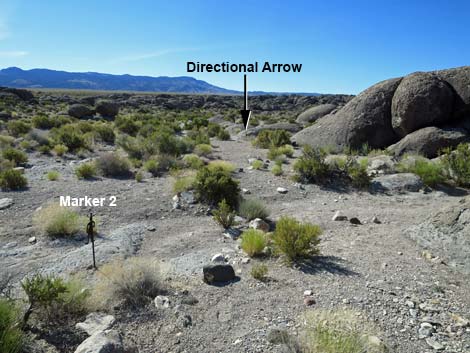 Continuing past Site 2 (view SE from Marker #2) |
 Approaching directional arrow (view S) |
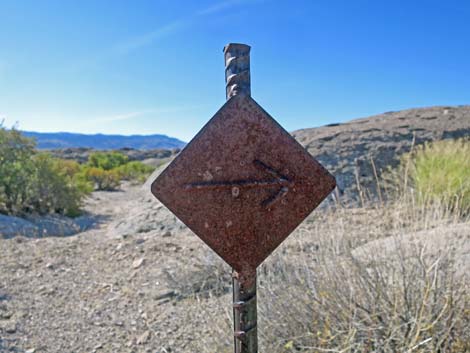 Directional arrow points right (view S) |
 Directional arrow points right into an alcove in the rocks (view SW) |
 Alcove in the rocks (view SW) |
 One faint petroglyph in the alcove (view SW) |
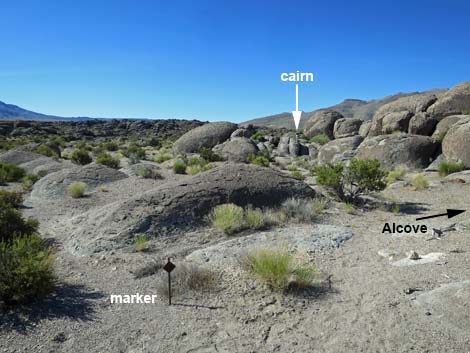 Returning to directional arrow, a cairn is visible (view S) |
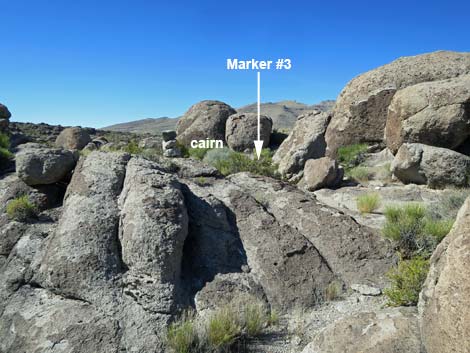 Approaching cairn; Site 3 is just ahead (view S) |
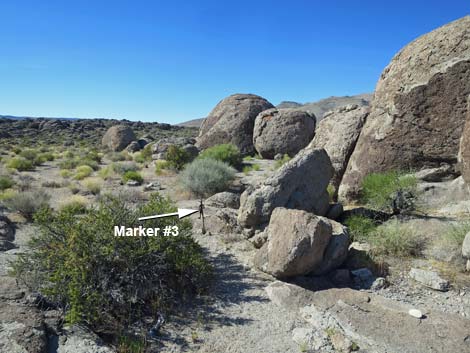 Approaching Marker #3 (view S) |
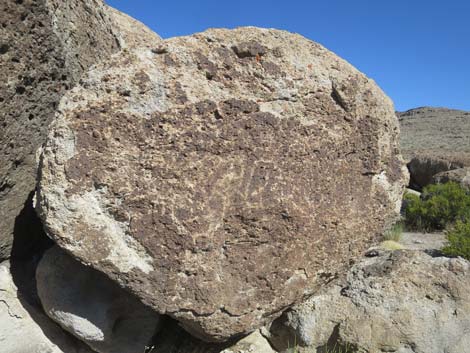 Main boulder at Site 3 (view NW) |
 Secondary boulder at Site 3 (view SW) |
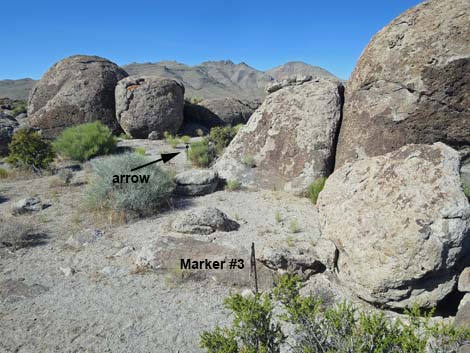 From Marker #3, directional arrow is visible ahead (view SW) |
 Directional arrow pointing left (view N) |
 Directional arrow pointing left (view N) |
 Route bends right past directional arrow (view SW) |
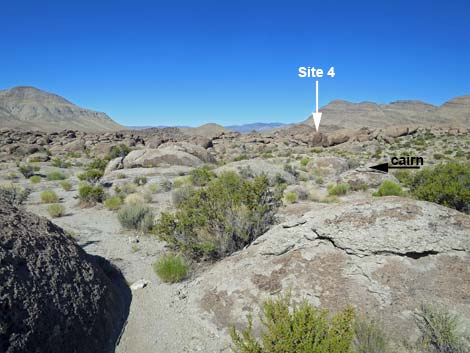 Cairns mark the way towards Site 4 (view SW) Cairns mark the way towards Site 4 (view SW) |
 Cairns mark the way towards Site 4 (view SW) |
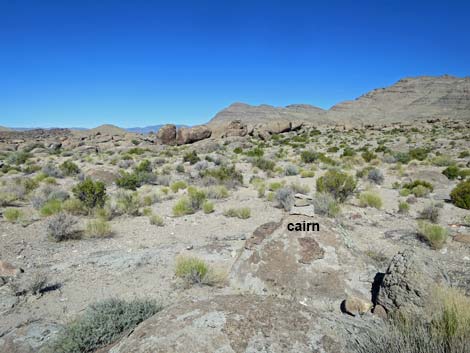 Cairns mark the way towards Site 4 (view SW) |
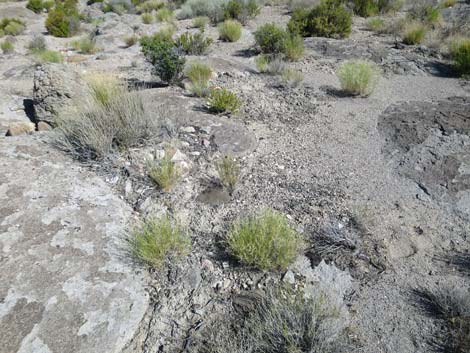 Avoid walking on the biological soil crust |
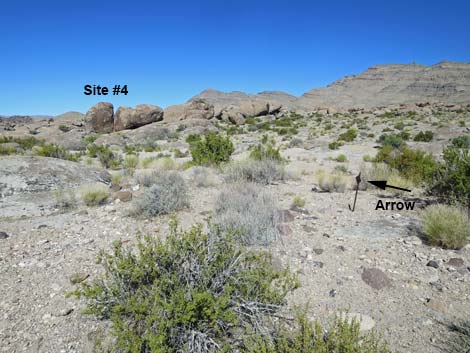 Directional arrow marks the way towards Site 4 (view SW) |
Directional arrow (view W) |
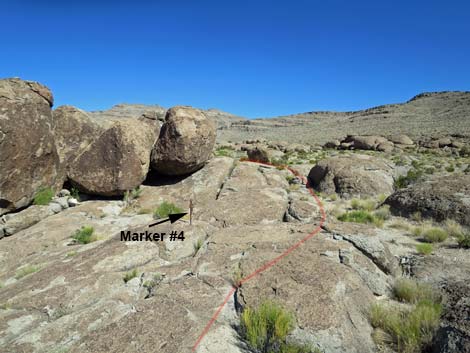
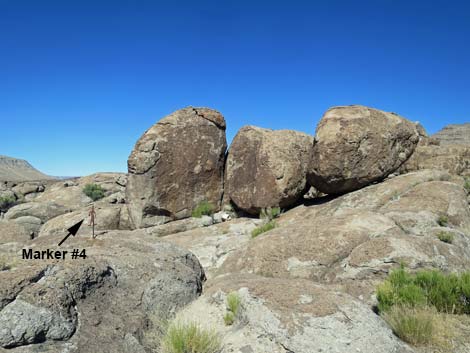 Approaching Marker #4 (view SW) |
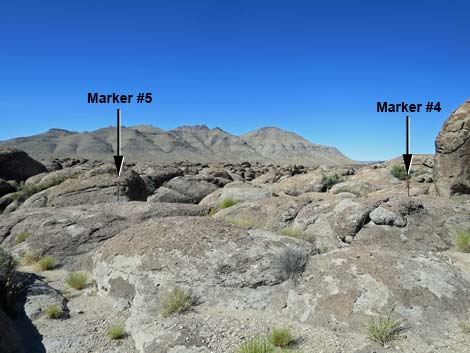 Note that Marker #4 and Marker #5 are adjacent (view SW) |
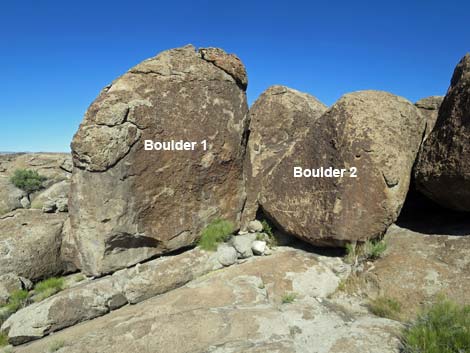 Main boulders at Site 4 (view W) |
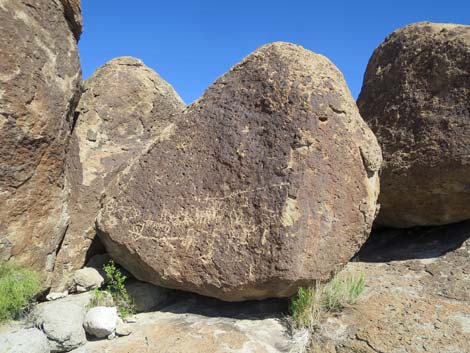 Boulder 2 at Site 4 (view W) |
Recall that Marker #5 is adjacent to Marker #4 (view S) |
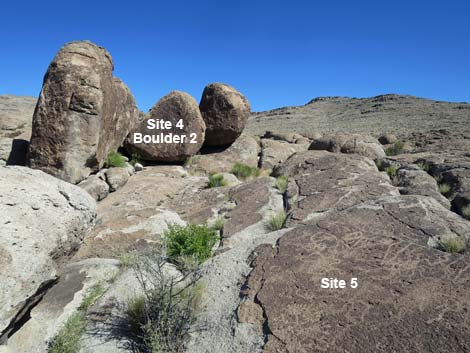 At Site 5, petroglyphs are on the "horizontal" rock surfaces (view NW) |
 From Site 5, the route runs back past Marker #4 (view NW) |
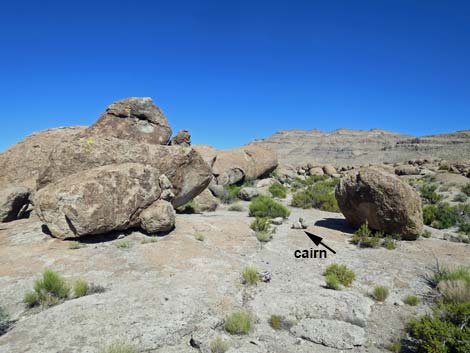 Around corner from Site 4, cairn leads towards Site 6 (view NW) |
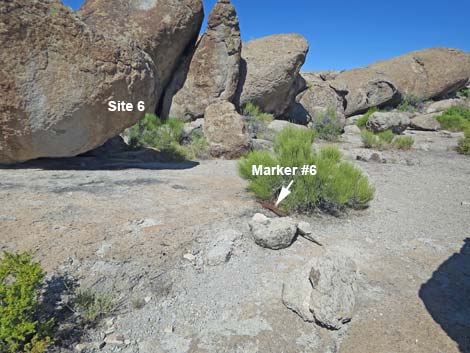 Marker #6 is lying on the ground (view NW) |
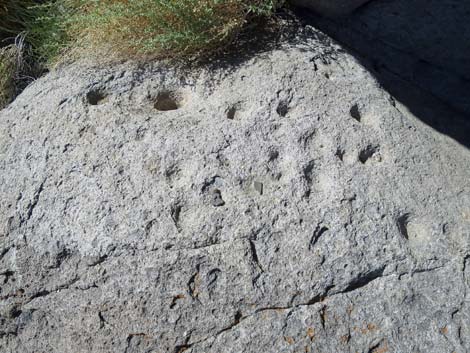 Lots of cupules at Site 6 (view W) |
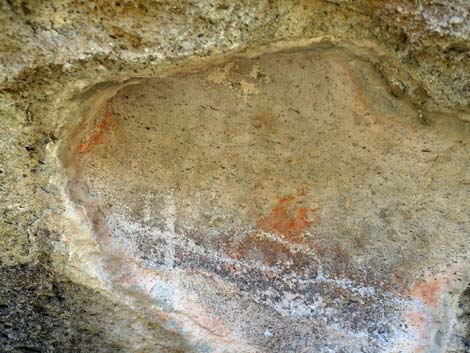 Pictographs or lichens at Site 6 (view SW) |
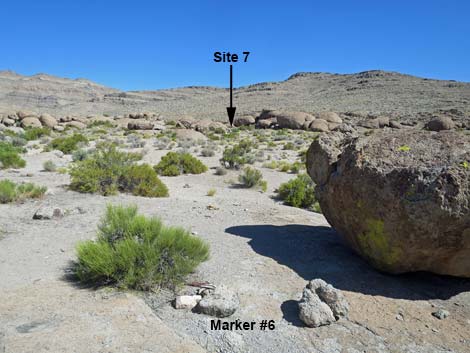 From Marker #6, the route continues towards Site 7 (view NW) |
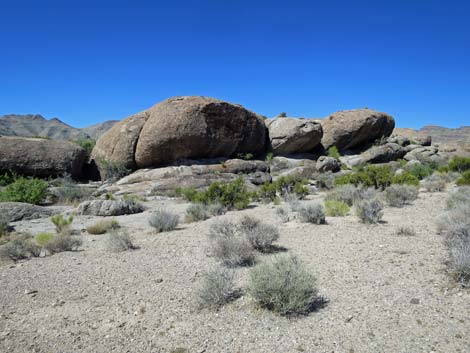 Off the trail, but what secrets might those boulder hide (view SW) |
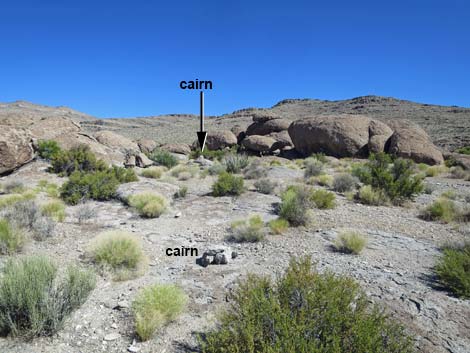 Cairns lead towards Site 7 (view NW) |
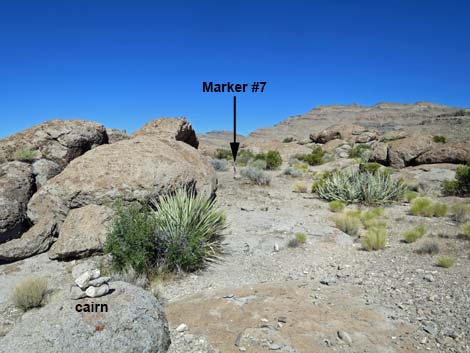 From cairn, Marker #7 is visible on the left (view W) |
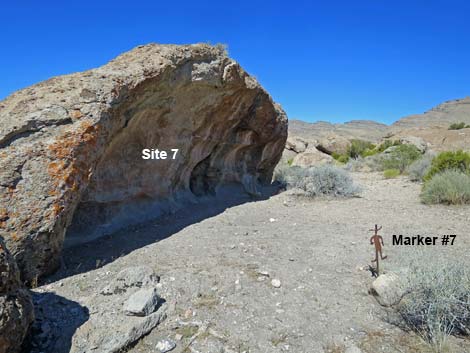 Arriving at Marker #7 (view W) |
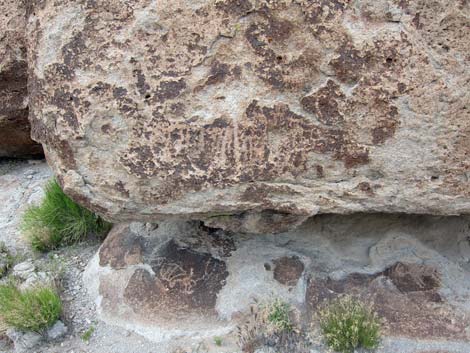
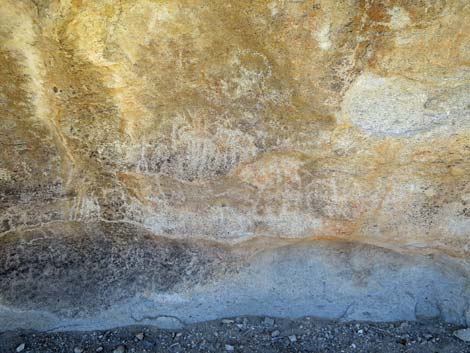 Petroglyphs and pictographs under rock shelter at Site 7 (view S) |
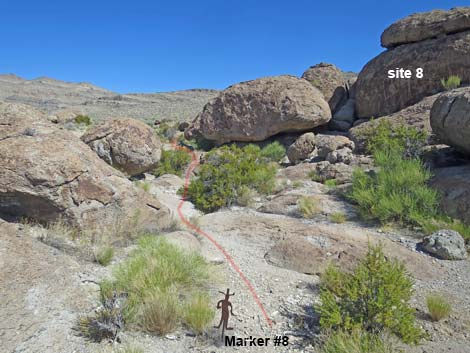
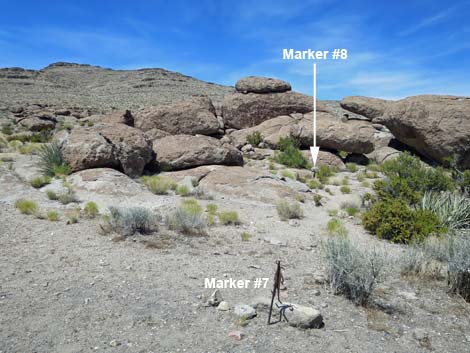 From Marker #7, Marker #8 is visible (view N) |
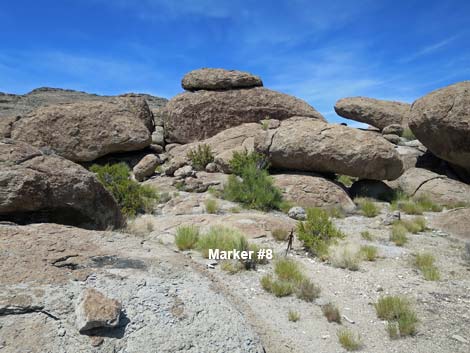 Approaching Marker #8 (view N) |
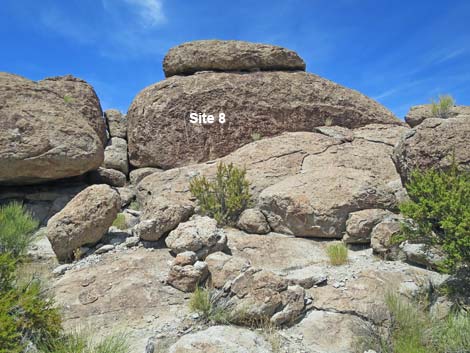 Site 8 is the varnished block atop the cliff (view N) |
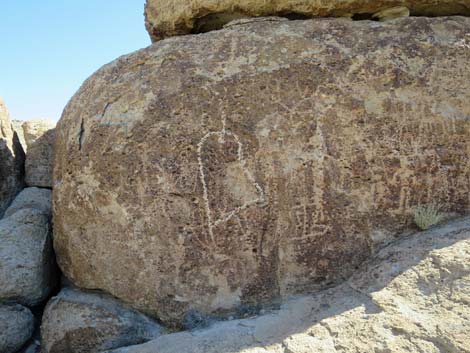 Site 8 is a remarkable mix of old and new petroglyphs (view N) |
 From Marker #8, the route runs NW to circle around the boulders |
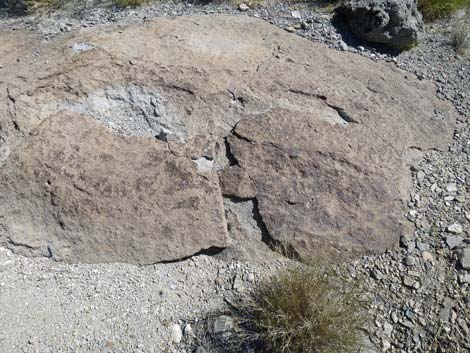 Don't miss petroglyphs on the ground at Site 8 (view down) |
 The route runs along the base of the crags (view W) |
 A cairn comes into view (view W) ... |
 Petroglyphs on the way to Site 9 (view N) |
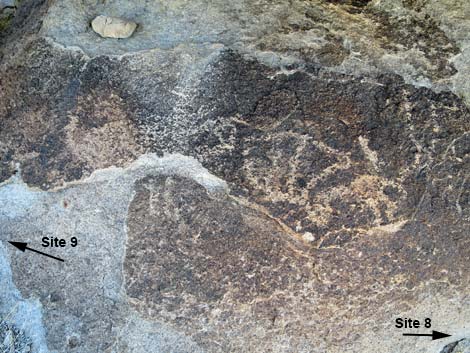 Don't miss more petroglyphs on the ground (view down) |
 More petroglyphs on the ground (view down) |
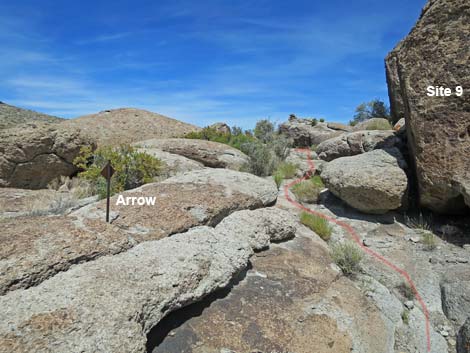
 ... but hikers can shortcut through the boulders (view N) |
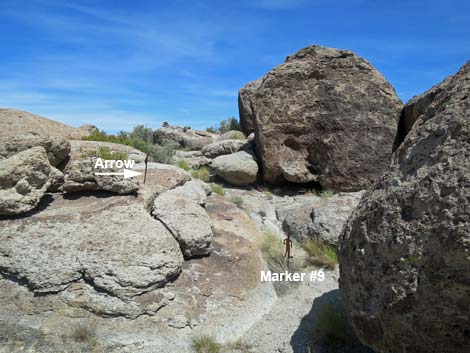
 Shortcut through the boulders; Marker #9 is visible (view N) |
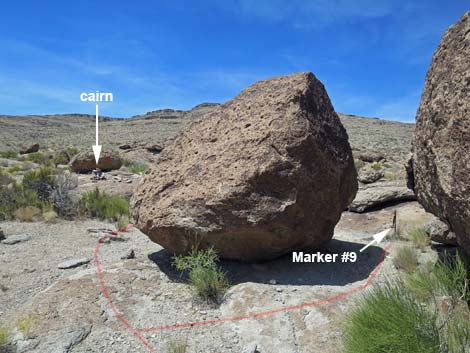
 Long way around the boulder; approaching Marker #9 (view NE) |
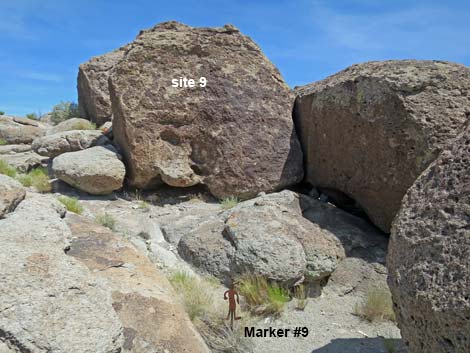 Site 9 (view E from Marker #9) |
 Petroglyph at Site 9 (view E) |
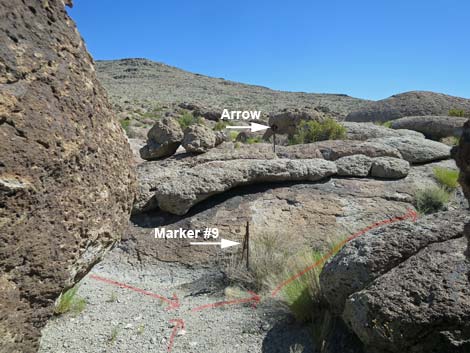
 From Marker #9, arrow points the way towards Site 10 (view E) |
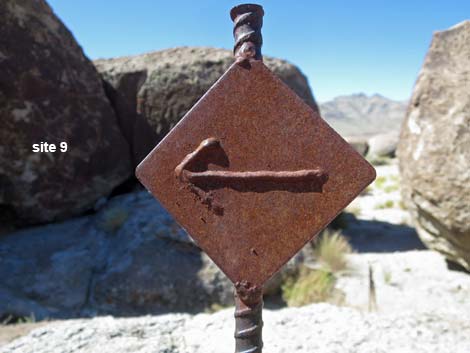 Directional arrow (view S) |
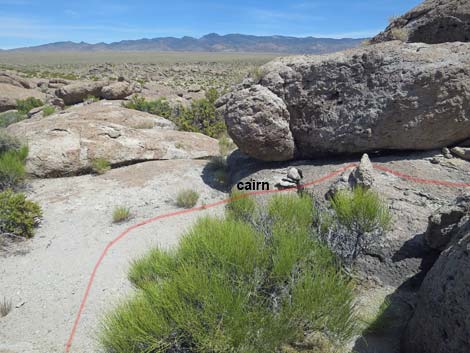
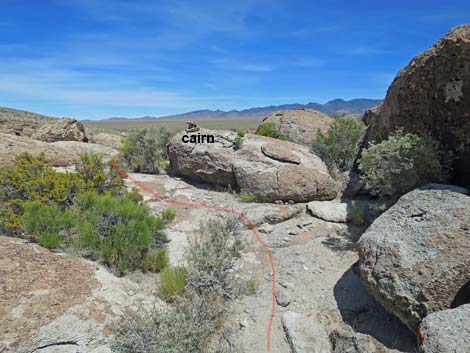 Cairn marks the route towards Site 10 (view E) |
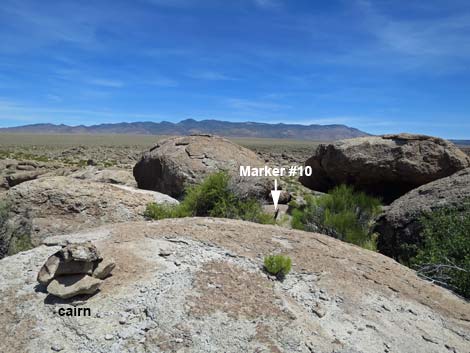 From the cairn, Marker #10 is visible to tall people (view E) |
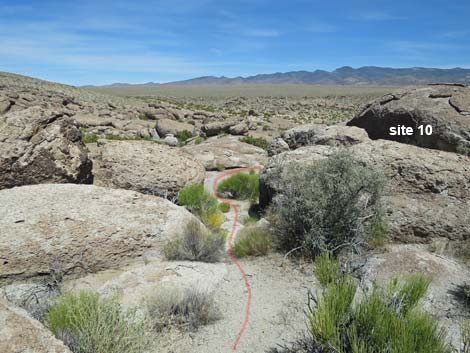 The route continues east past the cairn (view E) |
 The route circles right and back towards Marker #10 (view E) |
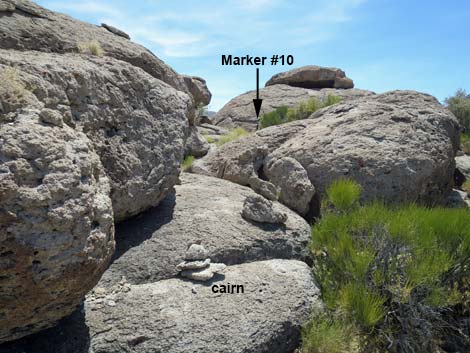 Route circles back towards Marker #10 (view SW) |
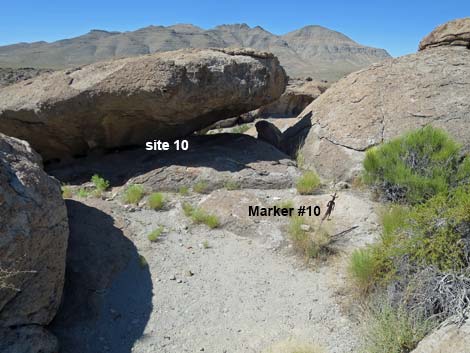 Arriving at Marker #10 (view SW) |
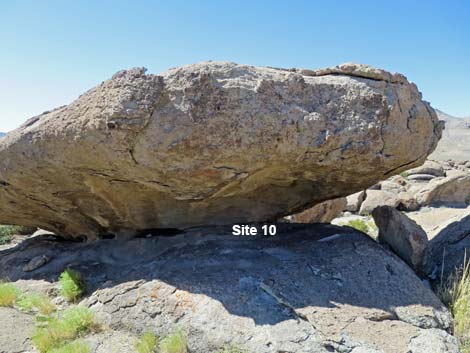 Site 10 provides nice shade (view S) |
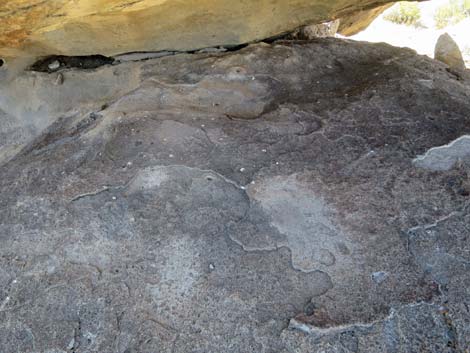 Grinding slicks and petroglyphs at Site 10 (view S) |
 Departing Marker #10, route runs back through the rocks (view NE) |
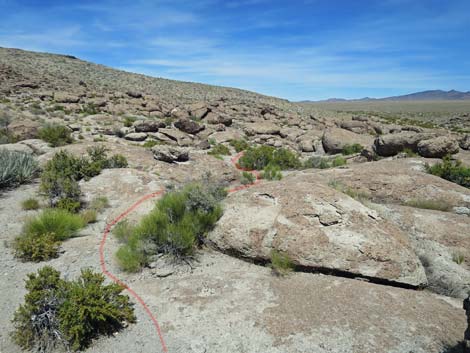 The route winds downhill through the rocks (view NE) |
 Past the rocks, the route winds downhill past cairns (view NE) |
 Walking back to Crystal Wash on a cloudy day (view NE) |
 The route continues downhill towards Crystal Wash (view NE) |
 Passing another cairn heading towards Crystal Wash (view NE) |
 The route wanders across the landscape towards Crystal Wash |
 Back in Crystal Wash; Half Boulder is visible ahead (view NE) |
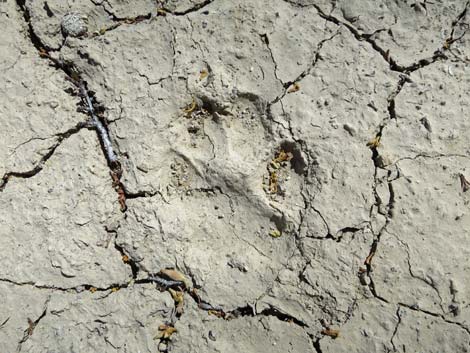 A bobcat passed this way! |
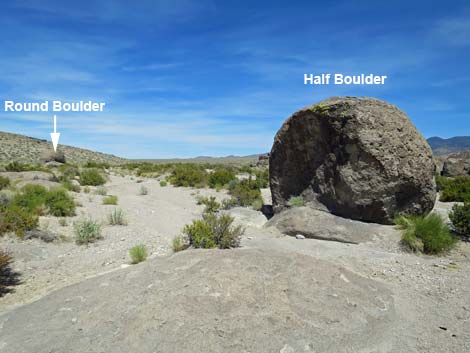 Returning to Half Boulder (Round Boulder visible ahead; view NE) |
 Returning past Round Boulder (view NE) |
 The route continues up Crystal Wash (view NE) |
 The route continues up Crystal Wash (view NE) |
 Crystal Wash seems longer this time (view NE) |
 Exiting Crystal Wash towards the trailhead (view NE) |
 Returning to the trailhead (view NE) |
 More to come ... |
Table 1. Hiking Coordinates based on GPS data (NAD27; UTM Zone 11S). Download Hiking GPS Waypoints (*.gpx) file.
| Wpt. | Location | UTM Easting | UTM Northing | Elevation (ft) | Point-to-Point Distance (mi) | Cumulative Distance (mi) | Verified |
|---|---|---|---|---|---|---|---|
| 10 | Crystal Wash Main Trailhead | 662492 | 4158037 | 4,146 | 0.00 | 0.00 | GPS |
| 11 | Crystal Wash Main Register | 662498 | 4158044 | 4,141 | 0.01 | 0.01 | GPS |
| 12 | Crystal Wash Main Marker 01 | 662508 | 4158049 | 4,142 | 0.00 | 0.01 | GPS |
| 13 | Crystal Wash Main Marker 01a | 662135 | 4157931 | 4,134 | 0.27 | 0.28 | GPS |
| 14 | Crystal Wash Main Marker 02 | 662128 | 4157884 | 4,124 | 0.04 | 0.32 | GPS |
| 15 | Crystal Wash Main Marker 03 | 662132 | 4157844 | 4,125 | 0.03 | 0.35 | GPS |
| 16 | Crystal Wash Main Marker 04 | 662024 | 4157823 | 4,127 | 0.08 | 0.43 | GPS |
| 17 | Crystal Wash Main Marker 05 | 662031 | 4157819 | 4,125 | 0.01 | 0.44 | GPS |
| 18 | Crystal Wash Main Marker 06 | 662003 | 4157842 | 4,130 | 0.02 | 0.46 | GPS |
| 19 | Crystal Wash Main Marker 07 | 661963 | 4157906 | 4,135 | 0.06 | 0.52 | GPS |
| 20 | Crystal Wash Main Marker 08 | 661970 | 4157915 | 4,138 | 0.01 | 0.53 | GPS |
| 21 | Crystal Wash Main Marker 09 | 661962 | 4157933 | 4,144 | 0.01 | 0.54 | GPS |
| 22 | Crystal Wash Main Marker 10 | 661979 | 4157932 | 4,149 | 0.02 | 0.56 | GPS |
| 13 | Crystal Wash Main Marker 01a | 662135 | 4157931 | 4,134 | 0.11 | 0.67 | GPS |
| 10 | Crystal Wash Main Trailhead | 662492 | 4158037 | 4,146 | 0.28 | 0.95 | GPS |
Happy Hiking! All distances, elevations, and other facts are approximate.
![]() ; Last updated 240323
; Last updated 240323
| Rock Art | Glossary | Copyright, Conditions, Disclaimer | Home |