Hiking Around Las Vegas, Gold Butte National Monument

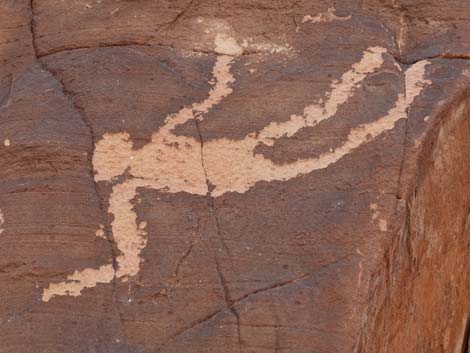 Falling Man (view W) |
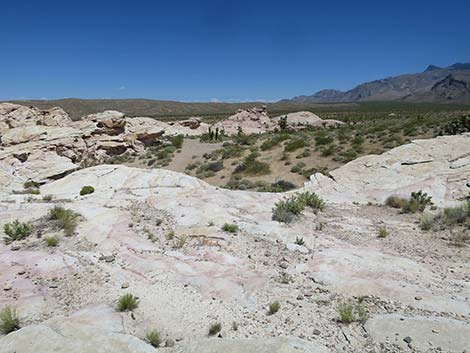
Overview The Falling Man Rock Art Site is a fascinating area where people once lived and wrote Rock Stories (petroglyphs and pictographs) on the crags and walls. Hiking to and returning from the Falling Man panel, people might notice habitation sites and petroglyphs on crags and boulders along the trail, providing evidence of lives lived here. It is interesting to consider the lives of the people who once lived here. These people were every bit as modern as we "modern humans," but they didn't have book learning. They were thoughtful problem solvers, and so they wrote on the rocks instead. When considering how they lived here, realize that the environment was considerably cooler and wetter than today. Presented here are photos of the return from the end of the regular Falling Man Trail. For a detailed description of the route, including directions, maps, GPS coordinates, and photos, see Falling Man Trail. There are several spots to see on the return, and consider looking off the beaten path. Be sure to click the links to see more photos of each spot. |
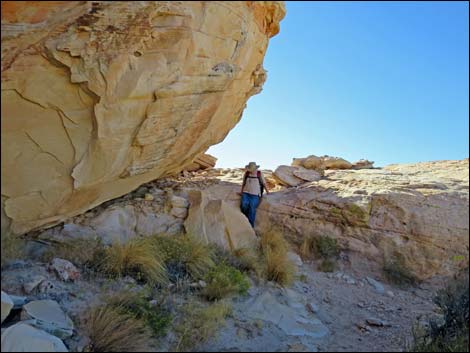 Hiker descending from the broad, flat Ledge (view W) |
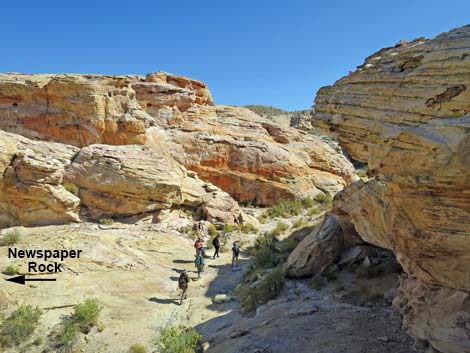
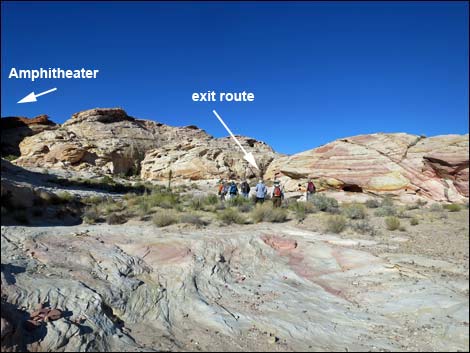
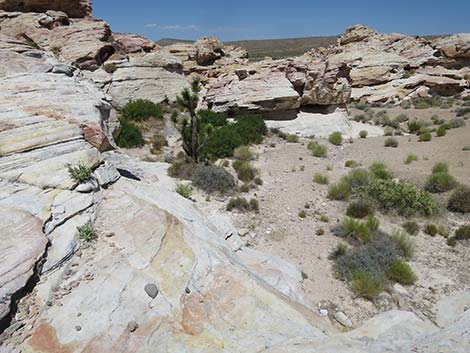
From the Upper Panel, hikers retrace their steps to the Ledge and descend back past the Bigfoot Site to the bottom of the wash near Newspaper Rock. In the wash, hikers return uphill to the lower end of the tinajas. Scrambling across the slickrock, hikers pass the Tinaja Site heading east and return to the sandy area (Wpt. 08) adjacent to the Amphitheater Site. To follow the outbound route, hikers would turn left to head back west across the Amphitheater Site, but this time, hikers stay right across the sandy area. Before leaving the sandy area, notice faint petroglyphs and pictographs on the white sandstone wall on the north edge of the sandy area. The petroglyphs are faint, but in good afternoon lighting, they are quite impressive. In the sandy area, returning hikers turn east and follow a use-trail across the sand to a low point in the sandstone crags where hikers can easily hike up onto the sandstone, now heading north. Hiking north, hikers notice use-trails in the sand to the right. These are longer routes used by horsemen. |
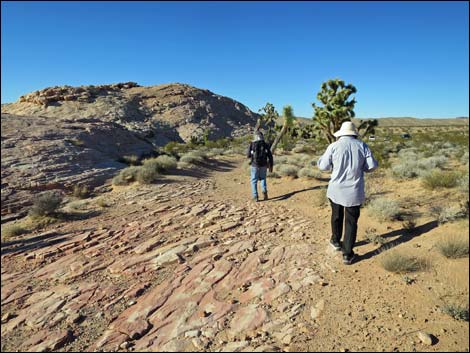
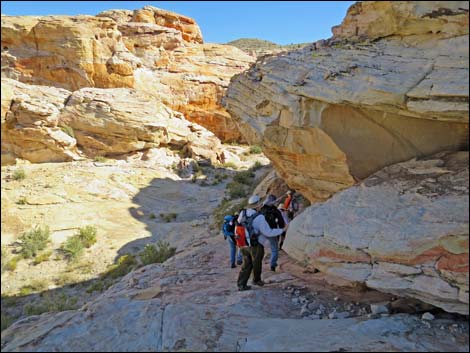 Descending the ramp past Bigfoot Site (view SE) |
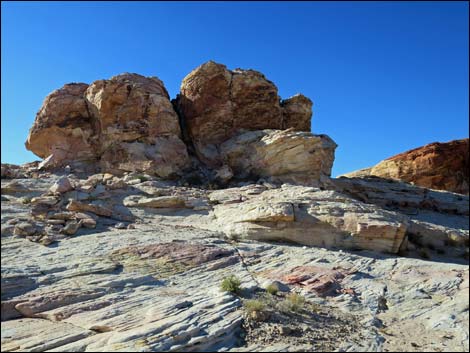
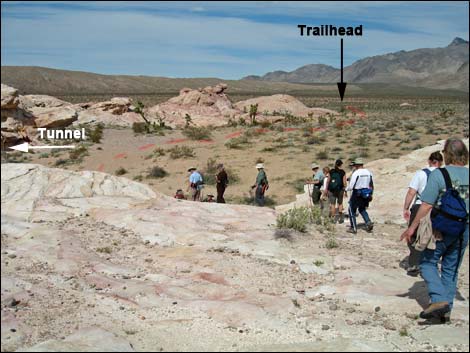
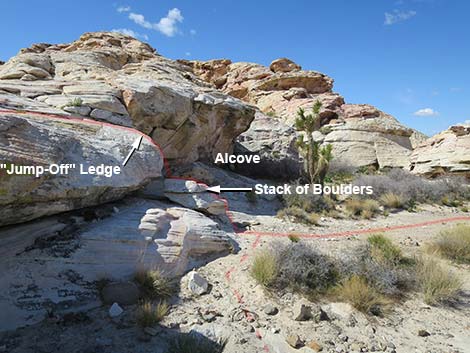
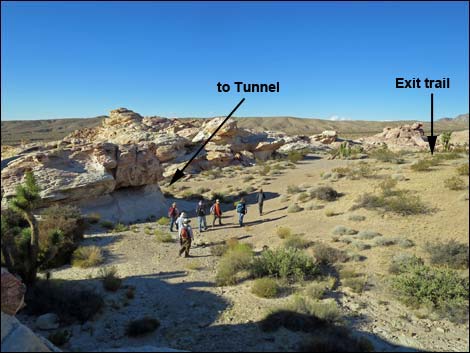
Staying on the sandstone, hikers will soon arrive atop a low cliff that give the impression of an impassable route. Nonetheless, walking up to the edge at the lowest point, hikers will see a pile of flat boulders that make for an easy hop-down to the desert floor below. For hikers to feel this looks too scary, there is a more difficult and more dangerous, but seemingly easier and safer route to the right (follow lowest sandy use-trail on the right). Horsemen need to stay even farther right and climb around a high knob in order to find a horse-friendly route to the desert floor below. On the desert floor, hikers continue north and quickly arrive at the end of the old-road trail. Before leaving the base of the hop-down, walk into the alcove on the left (west) and consider the rock stories written and painted on the shady rocks. From there, returning hikers can walk back out the old-road trail to the Falling Man Trailhead (Wpt. 01). |
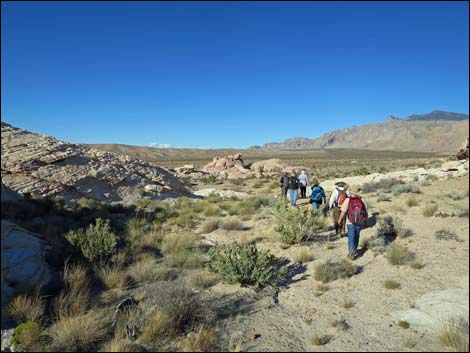
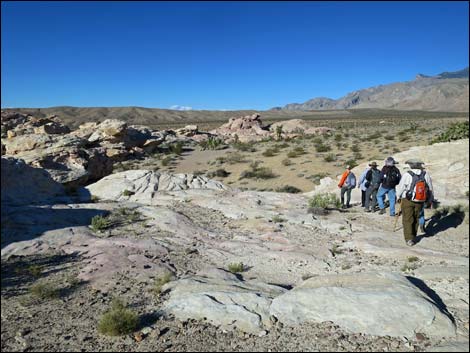
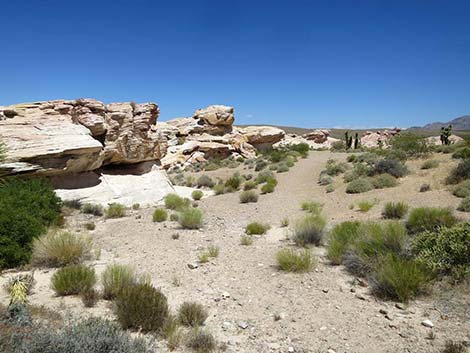
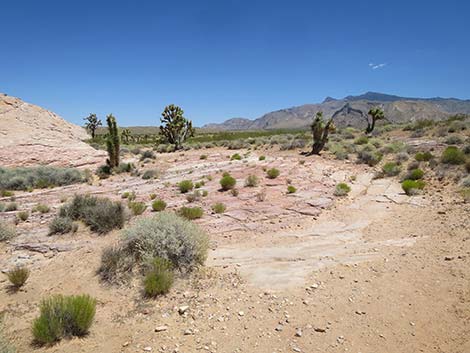
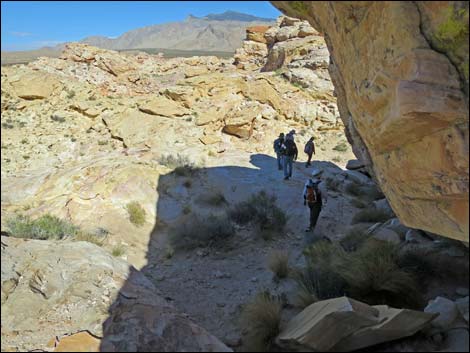 Descending towards the wash (view SE) |
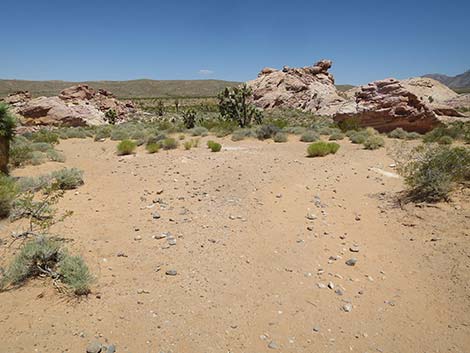
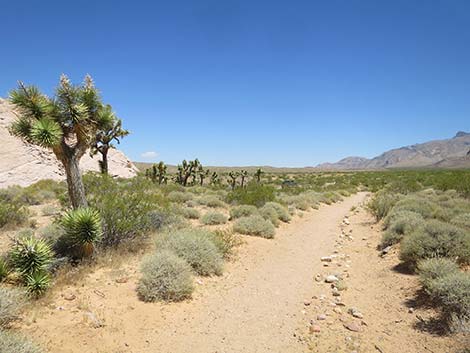
 Hikers returning towards the trailhead (view SE) |
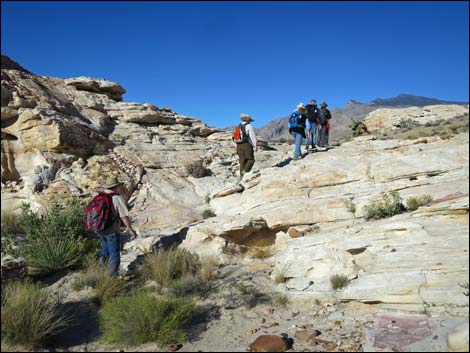
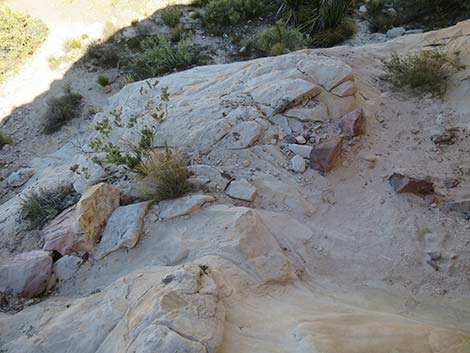
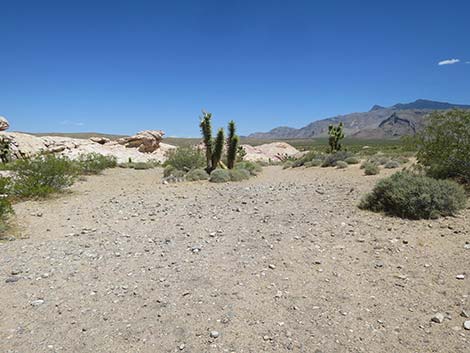
 Hiker back at the lowest tinaja (view E) |
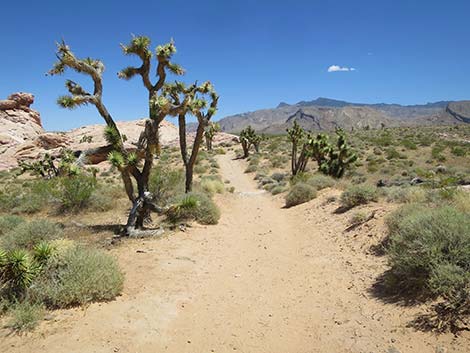
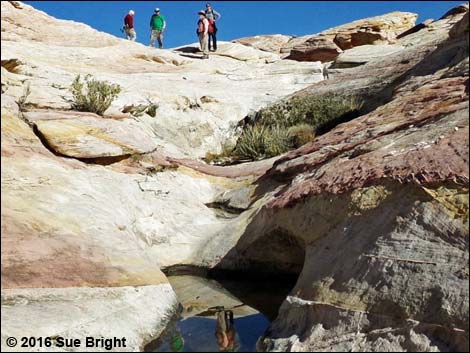 Hikers past the lowest tinaja (view NE) |
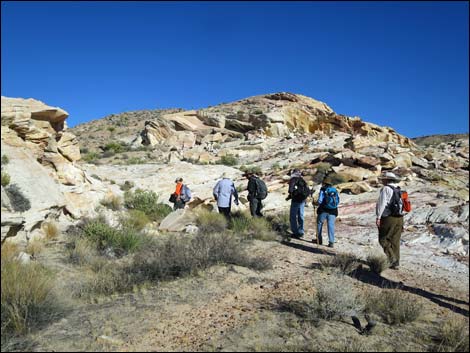
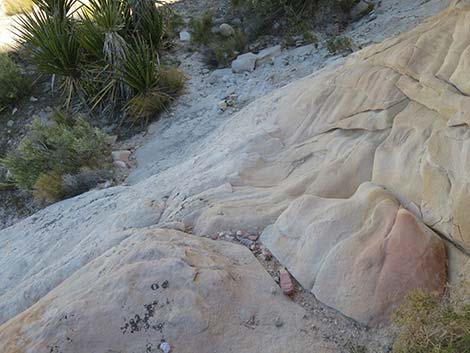
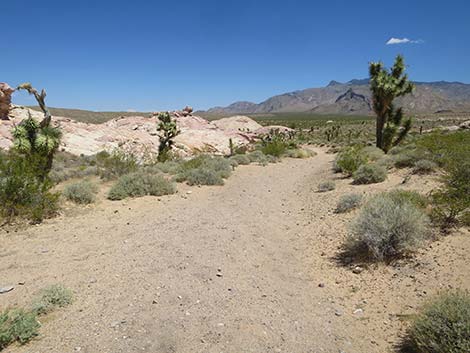
 Hikers past the upper tinajas (view NE) |
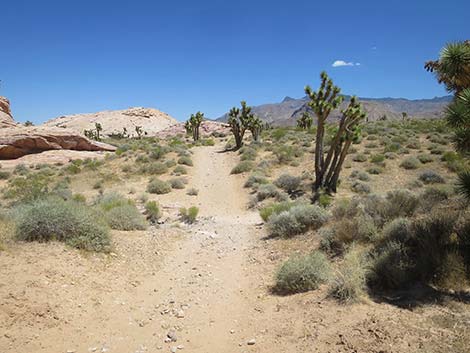
 Be sure to look for petroglyphs missed on the way in (view N) |
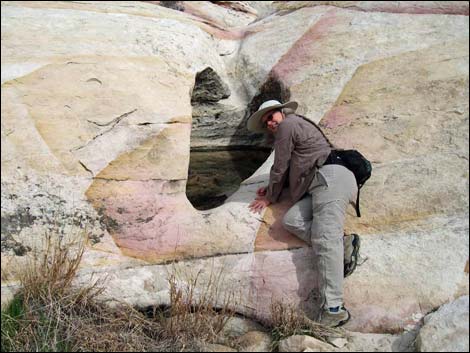
 Petroglyph panel to find during return to trailhead |
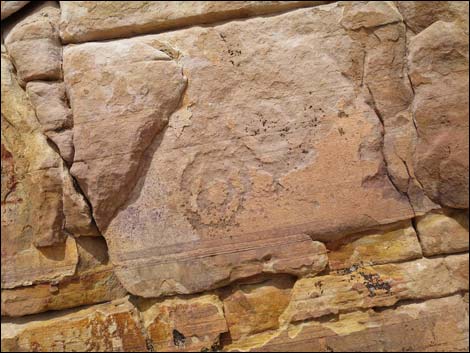 A very old petroglyph panel to find during the return |
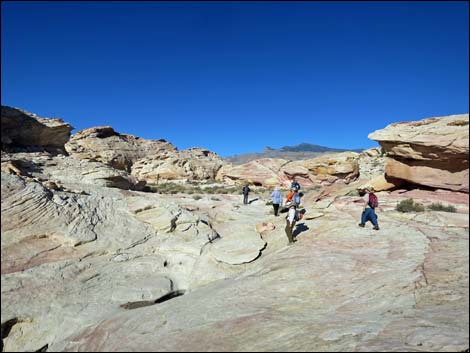
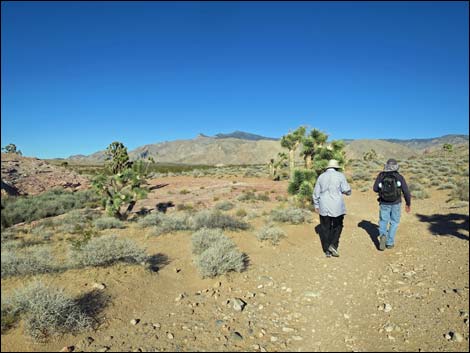
 Hikers in the Sandy area below the Amphitheater (view N) |
 Pictographs and petroglyphs in the Sandy Area (view N) |
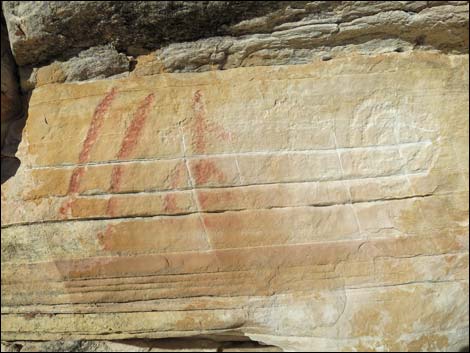 Sandy Area Pictographs and petroglyphs (view N) |
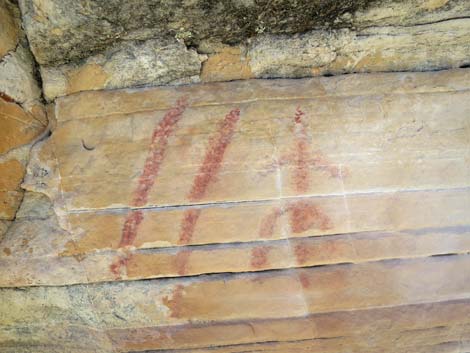 Sandy Area Pictographs on petroglyphs (view N) |
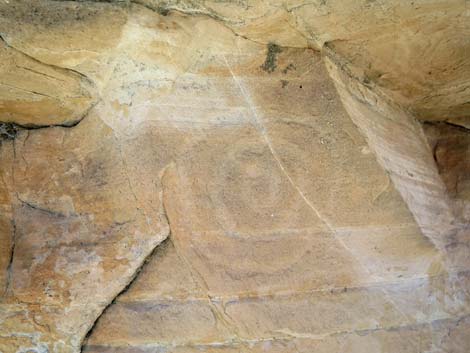 Sandy Area Petroglyphs (view N) |
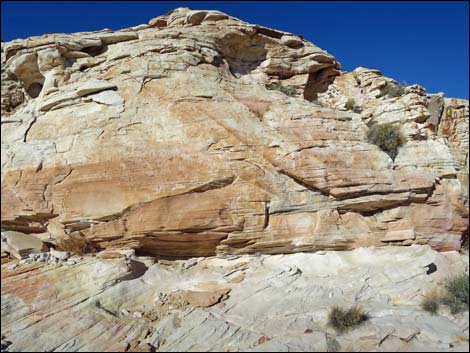
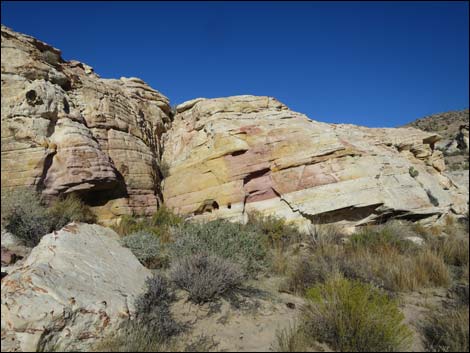 Colorful sandstone crag east of the Sandy Area (view NE) |
 Hikers on use-trail crossing the sandy area (view E) |
 Hikers on use-trail exiting the sandy area onto slickrock (view E) |
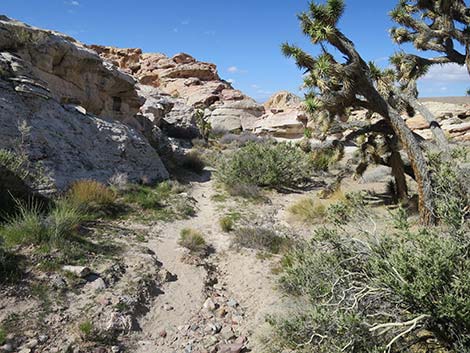
 Hikers continuing north across another sandy area (view N) |
 Hikers continuing onto more slickrock (view N) |
 Approaching "jump-off" ledge (view N) |
 Hikers below and above "jump-off" ledge (view N) |
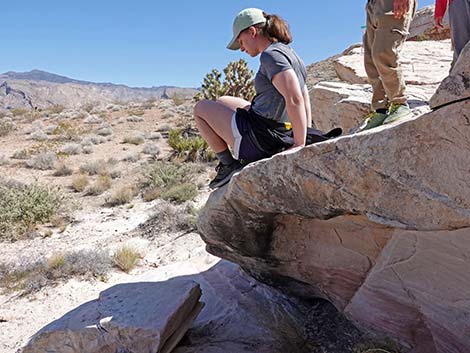
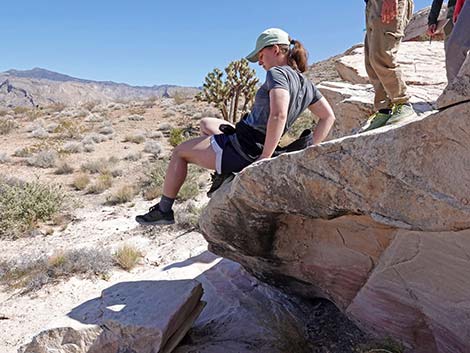
 Hikers atop "jump-off" ledge pondering an alternative route (view N) |
 "Jump-off" ledge (view N) |
 Looking down from atop the "jump-off" ledge (view N) |
 Hikers actually "hop off" onto stack of flat boulders (view N) |
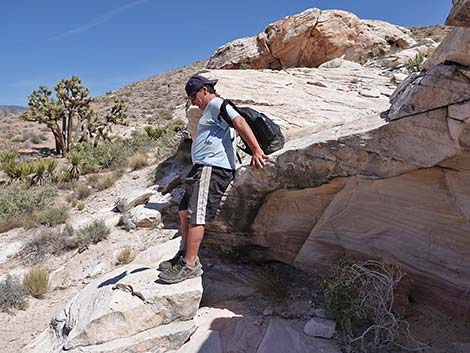
 Hiker scooching towards the edge (view E) |
 Hiker stepping off the edge (view E) |
 Hiker hopping onto the boulder with one foot first (view E) |
 ... and the last man is safely down (view E) |
Alternate to "Jump-Off" Ledge (which is actually harder)
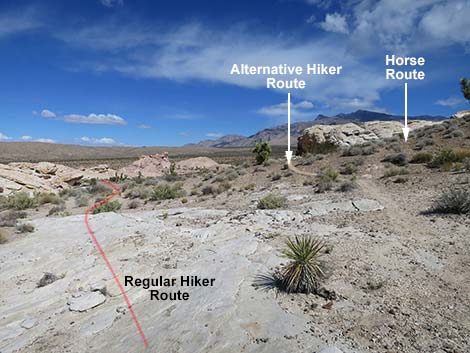 Alternative routes stay right of sandstone slickrock (view NE) |
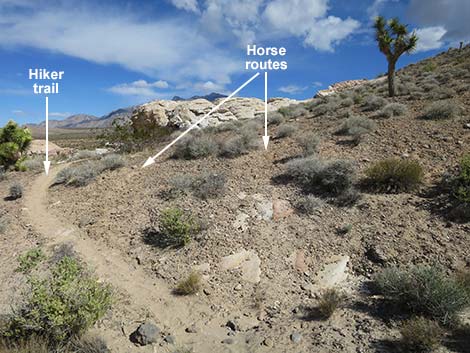 Horse must go over the sandstone outcrop (view NE) |
 Another horse trail heads over the sandstone outcrop (view NE) |
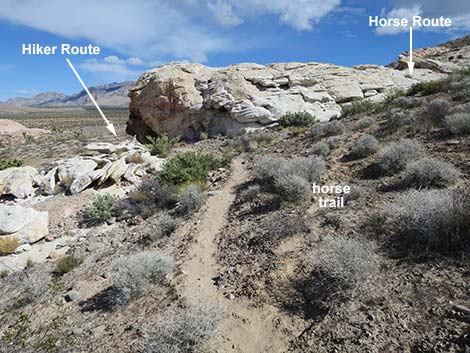
 Hikers trail runs out to the edge (view NE) |
 Hiker trail traverses rocky slope (view NE) |
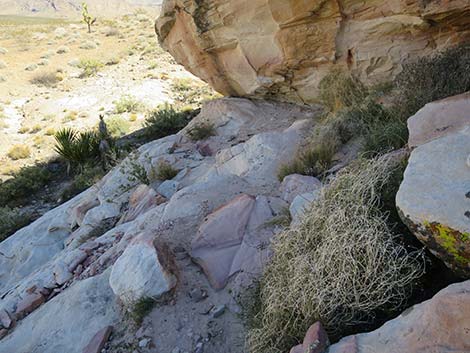
 Hiker trail drops to a sandy ledge (view NE) |
 Hikers scramble down the cliff (view NE) |
 On the ground, hikers turn back towards the regular route (view W) |
 Passing "jump-off" ledge, which might have been easier (view W) |
 Back on the regular route (view N) |
The Route Continues
 Hikers below "jump-off" ledge (view N from atop "jump-off" ledge) |
 Trail returns back over the agave roasting pits |
 |
 |
 |
 |
 |
 |
 |
 |
 |
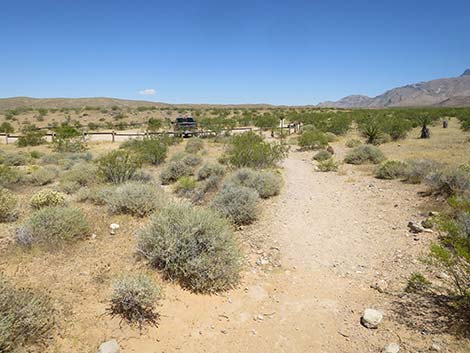 |
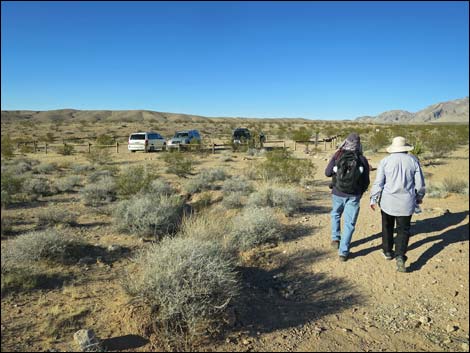 Hikers approaching the trailhead (view N) |
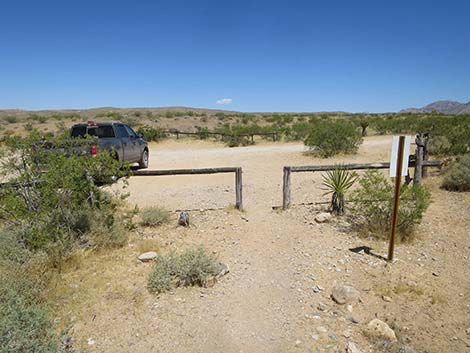 Arriving back at the trailhead (view N) |
Table 2. Hiking Coordinates Based on GPS Data (NAD27, UTM Zone 11S). Download Hiking GPS Waypoints (*.gpx) file.
| Wpt | Location | Easting | Northing | Elevation (ft) | Point-to-Point Distance (mi) | Cumulative Distance (mi) | Verified |
|---|---|---|---|---|---|---|---|
| 01 | Trailhead | 752138 | 4044187 | 2,393 | 0.00 | 0.00 | GPS |
| 02 | Falling Man Panel | 751967 | 4043745 | 2,432 | 0.33 | 0.33 | GPS |
Happy Hiking! All distances, elevations, and other facts are approximate.
![]() ; Last updated 240325
; Last updated 240325
| Gold Butte | Rock Art | Hiking Around Las Vegas | Glossary | Copyright, Conditions, Disclaimer | Home |