Hiking Around Las Vegas, Red Rocks National Conservation Area
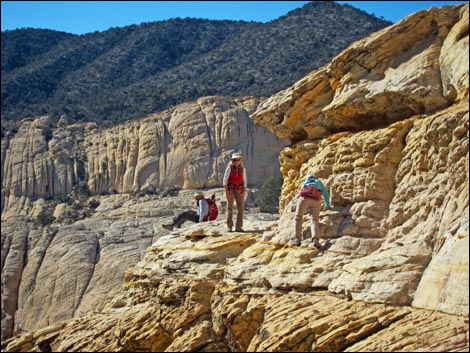
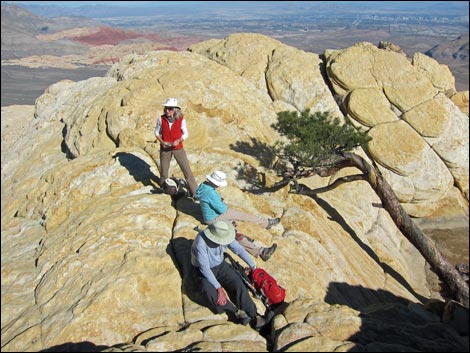 Hikers relaxing on the summit (view E) Hikers relaxing on the summit (view E) |
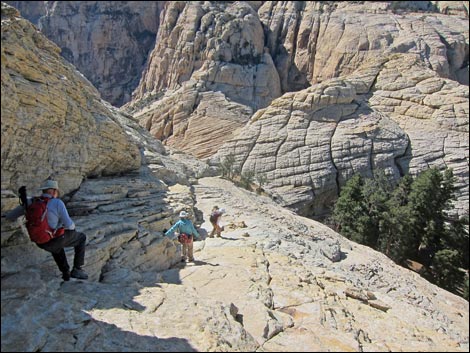
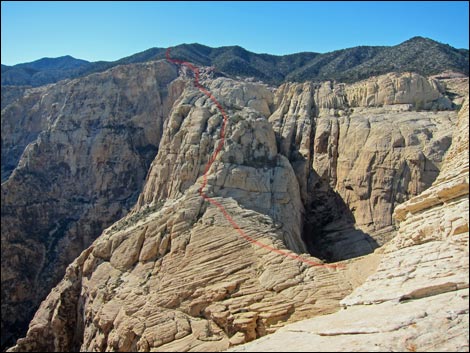
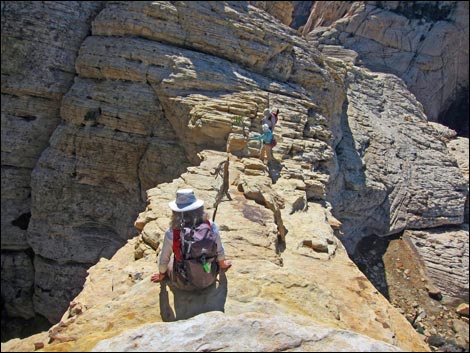
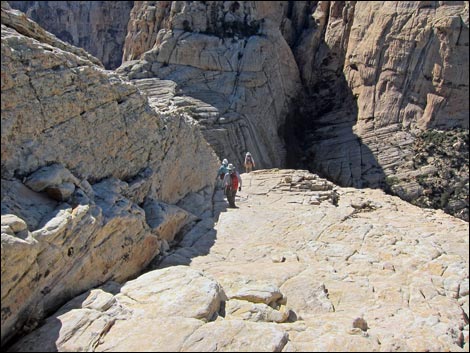
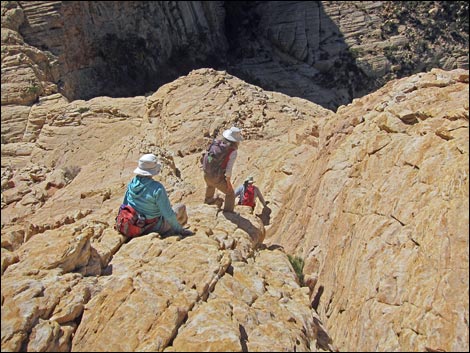
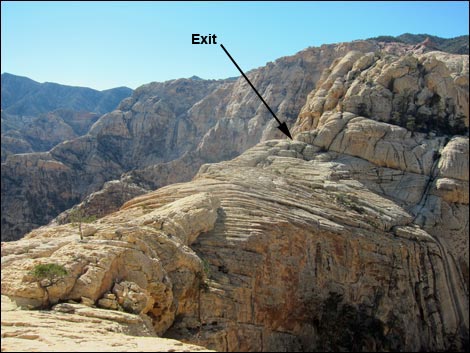
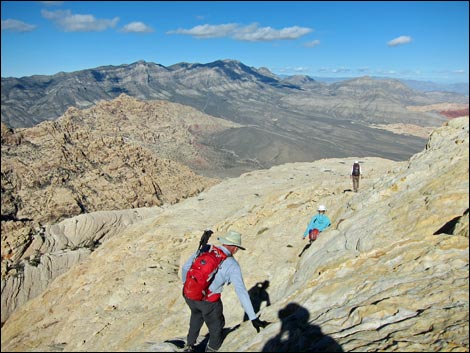 Starting down from the summit (view NE) |
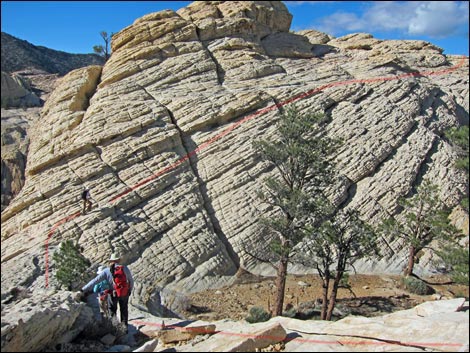
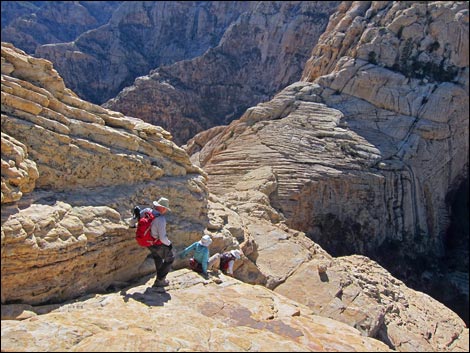
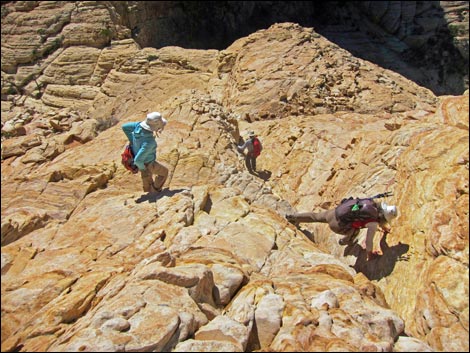
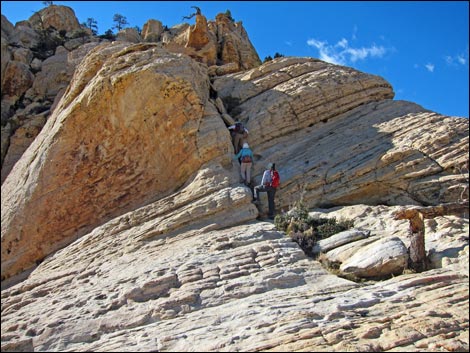
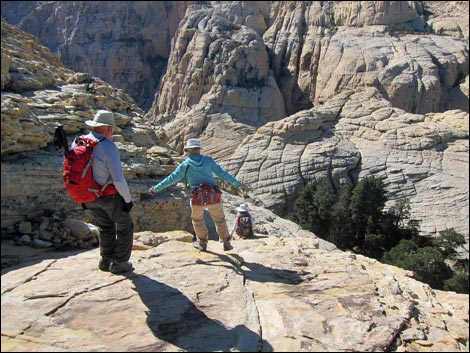 Starting down the steep summit ramp (view NW) |
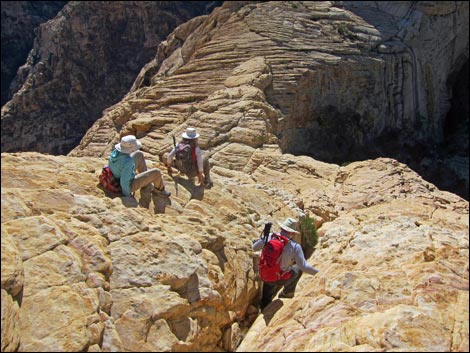
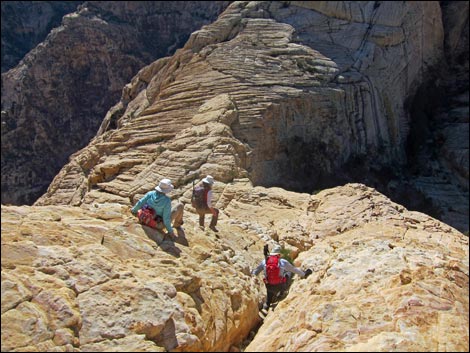
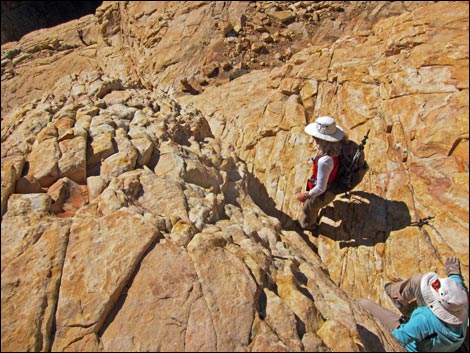
 Descending steep summit ramp (view NW) |
 |
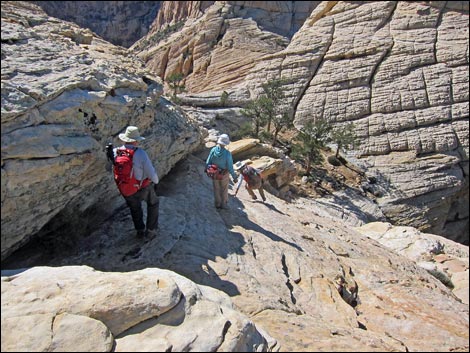 |
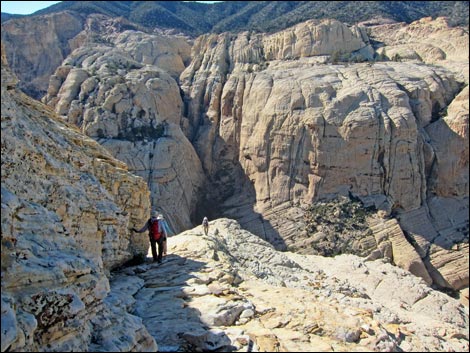
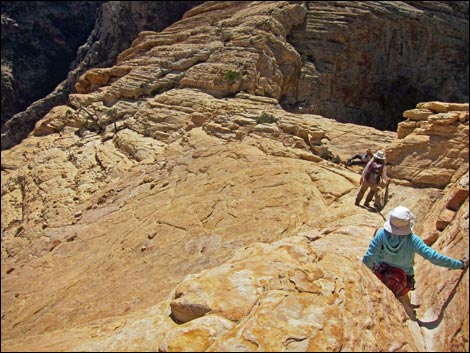
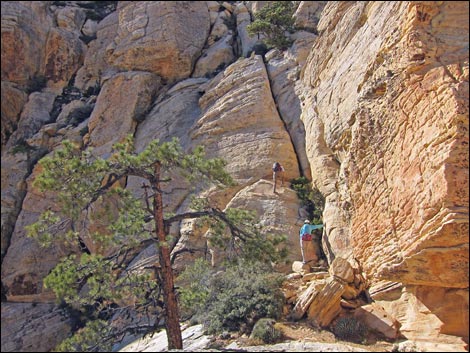
 Descending towards Hidden Forest entrance |
 Hikers passing Hidden Forest entrance |
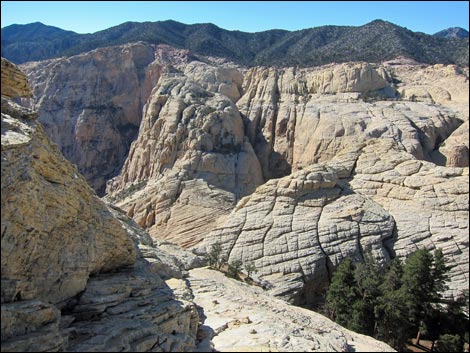
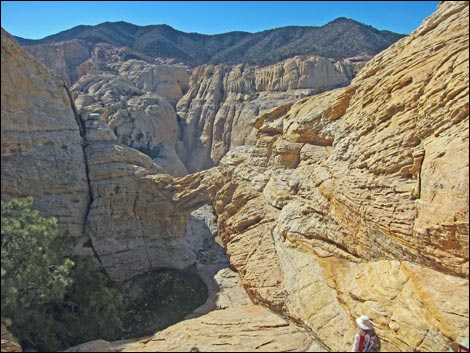
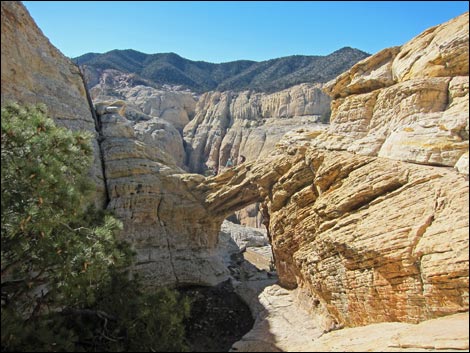
 Route down (view W from Hidden Forest Entrance) |
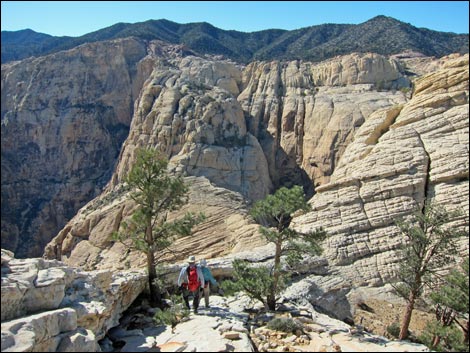
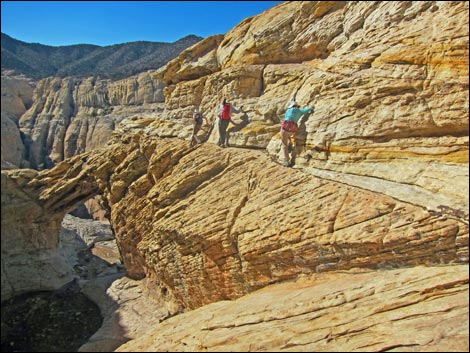
 Contouring across hillside (view N from Hidden Forest Entrance) |
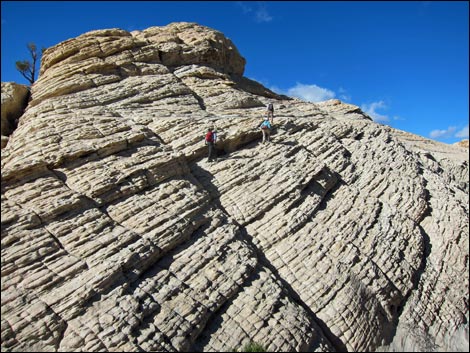
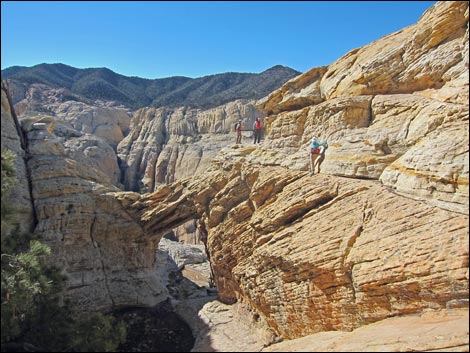
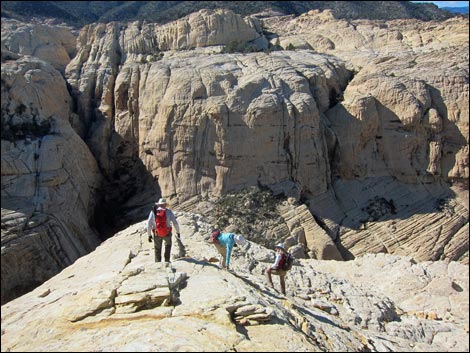
 Hikers nearing ridge above the bridge (view N) |
 Hiker starting towards top of bridge (view W) |
 The bridge (view W) |
 Hikers on narrow ledge, traversing towards top of bridge (view W) |
 Hikers on narrow ledge, traversing towards top of bridge (view W) |
 Hikers at E edge of bridge (view W) |
 Hiker on landing beyond narrow ledge (view W) |
 Hikers on top of the bridge (view W) |
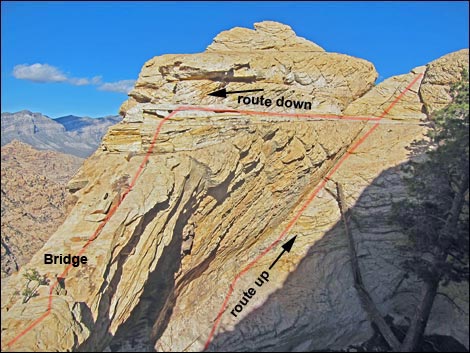 Routes at the bridge (view NE) |
 Descending beyond the top of the bridge (view W) |
 Turning down towards ascent route (view W) |
 Hikers descending first steep pitch (view W) |
 Hikers descending first steep pitch towards big ledge (view W) |
 Hikers descending steep, exposed rock (view W) |
 |
 |
 |
 |
 Approaching "safe" ground (view W) |
 Looking ahead at route across the neck (view W) |
 Hikers leaving the neck area (view NW) |
 Hikers starting up the steep gully-crack (view NW) |
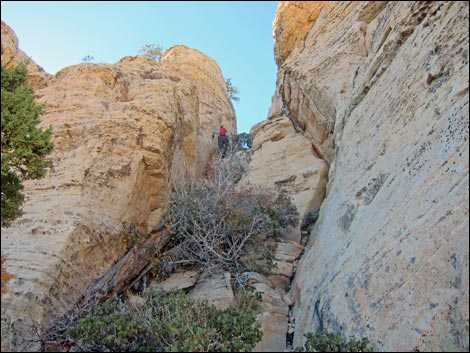 Hikers in steep, brushy gully (view NW) |
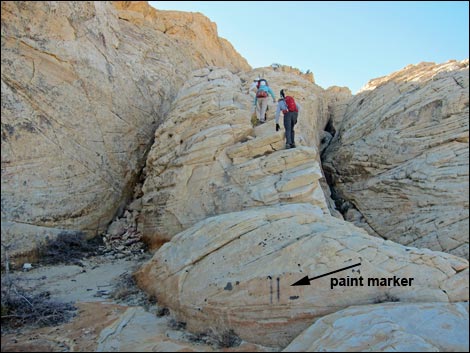 Paint markers are easier to see on the way out (view W) |
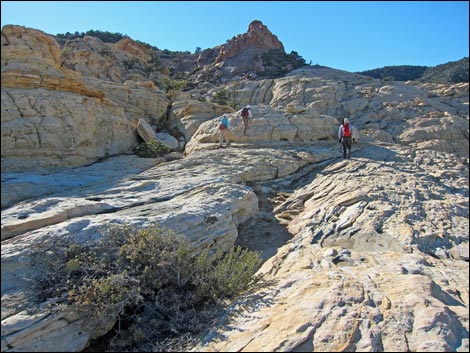 Finished with the difficult rock (view W) |
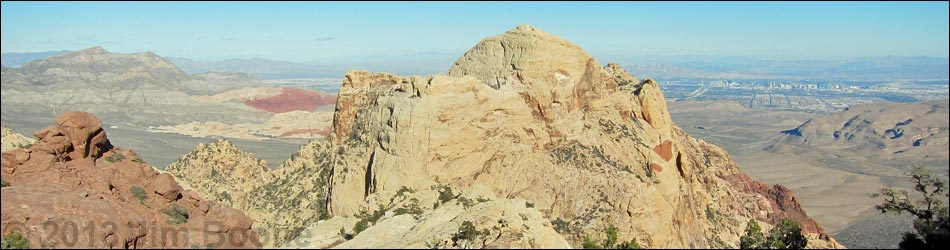
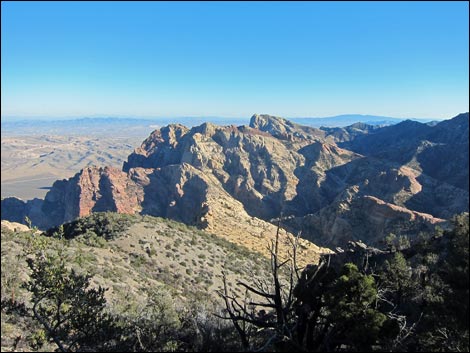 High peaks along the escarpment (view SE from the crest) |
 Hikers on the crest (view N at trail junction) |
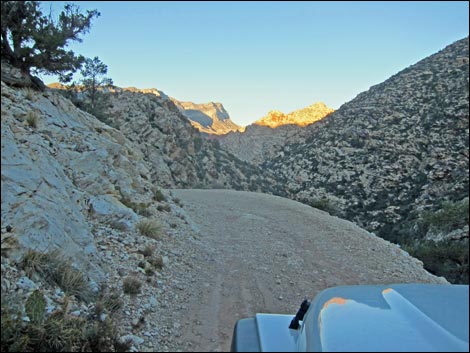 Tired drivers need to operate with care at the end of the day! |
Happy Hiking! All distances, elevations, and other facts are approximate.
![]() ; Last updated 240329
; Last updated 240329
| Route Description | Hiking Around Red Rocks | Hiking Around Las Vegas | Glossary | Copyright, Conditions, Disclaimer | Home |